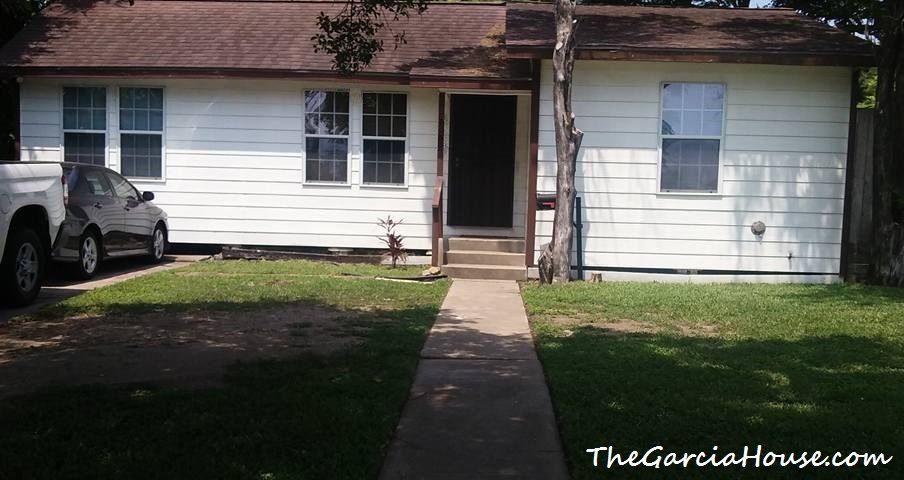
House Stats: 3 bedroom, 1 bathroom 1,075 sq.ft. single story bungalow built in 1951. The third bedroom is a garage conversion and is currently being used as an office. Our house is small, but I'm so excited about maximizing its potential. I think that with good design and organization, we can make our home feel twice as big. Plus, as I plan to discuss with you guys, we may live here permanently. What we first thought of as a starter home may prove to be our forever home. We've got big plans, and being house poor while paying a mortgage for eternity is not one of them.
I hope this can be an inspiration to others with modest little houses. You don't have to have a mansion to be happy. Less house, more home 🙂
On this page, I'll show you what we're working with, what's been done, and what is yet to come!
I'm working on the photos, so they'll be updated several times in the coming days. I'm going to kick off the tour by sharing our nursery. Then I'll show you the rest of our rooms that still need to be updated. Many of the "After" pictures will be here soon since we're in the middle of some major updates. We've got some big things in the works!
In the mean time...
 Before:
 After:
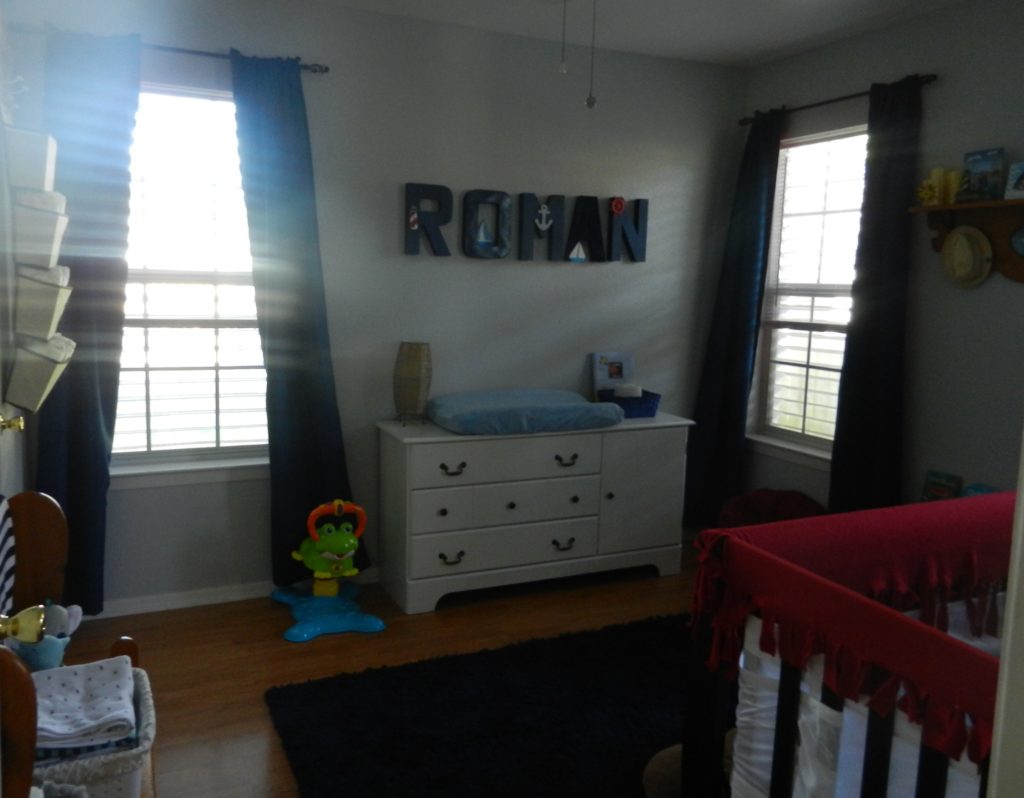 Check out the nursery reveal post with all the room details HERE!
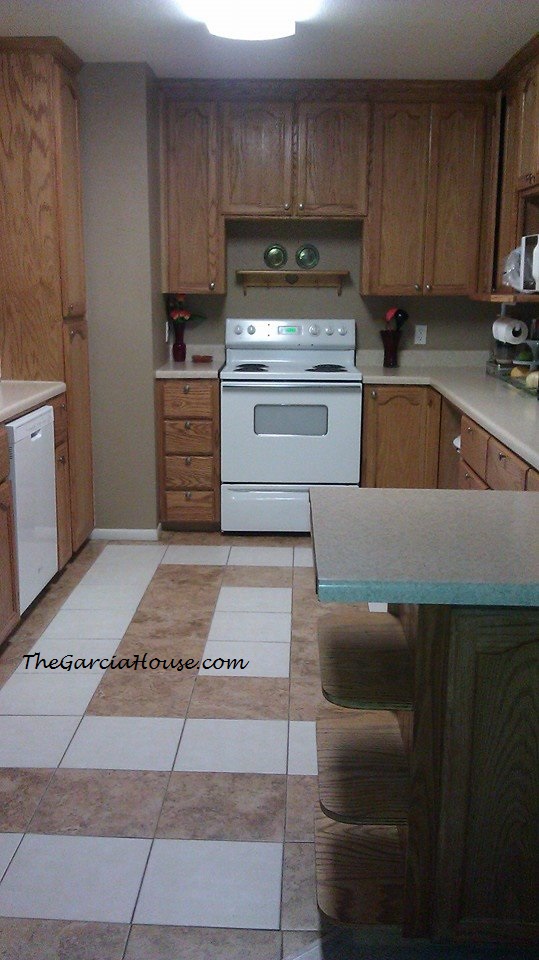
 Before:
The Plan:
- Paint the cabinets white
- Update the hardware
- Fresh paint on walls and ceiling
- New counters
- Add a tile backsplash
- Hardwood floors
- Recessed and task lighting (woohoo for Electrician husband!)
 Before:
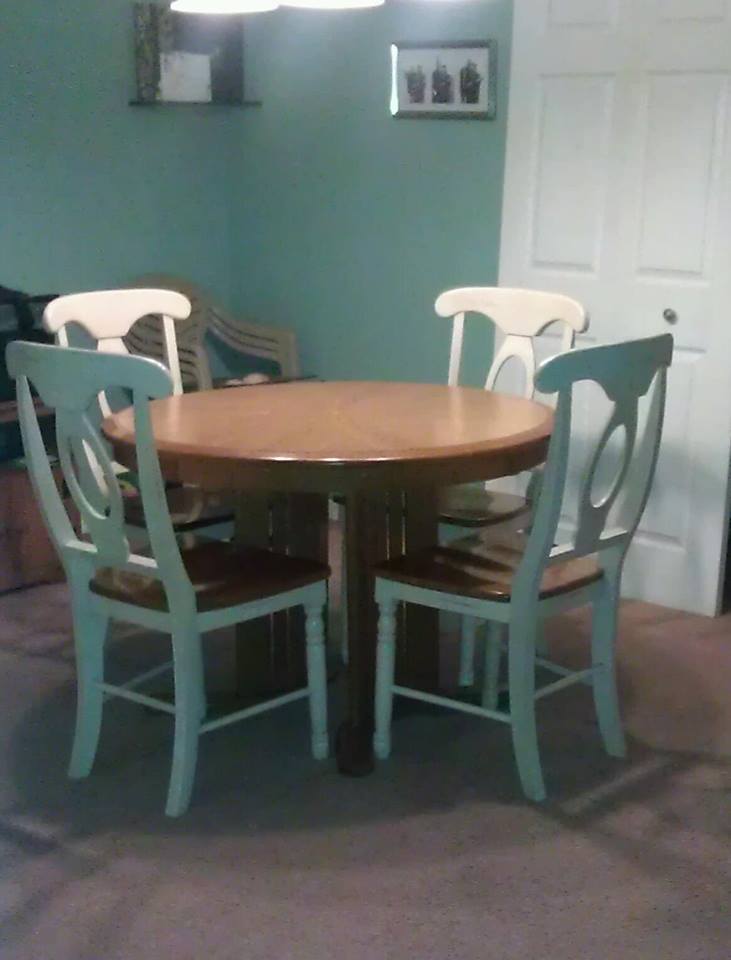 After:
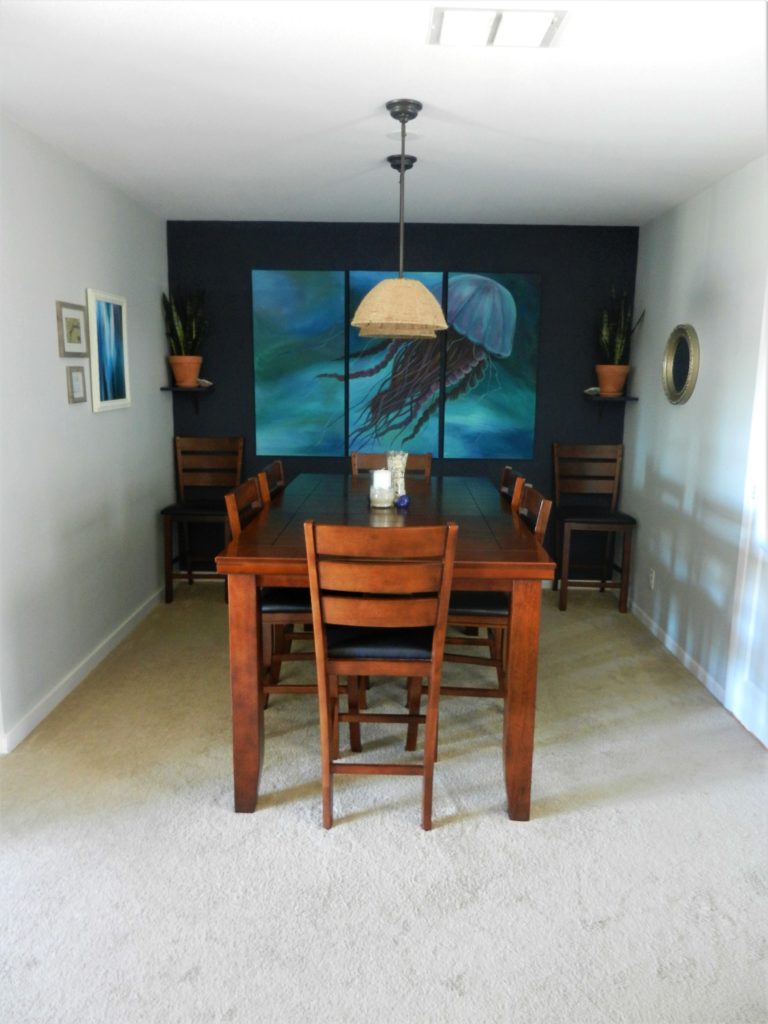 {Check out the full reveal HERE!}
 Before:
After:
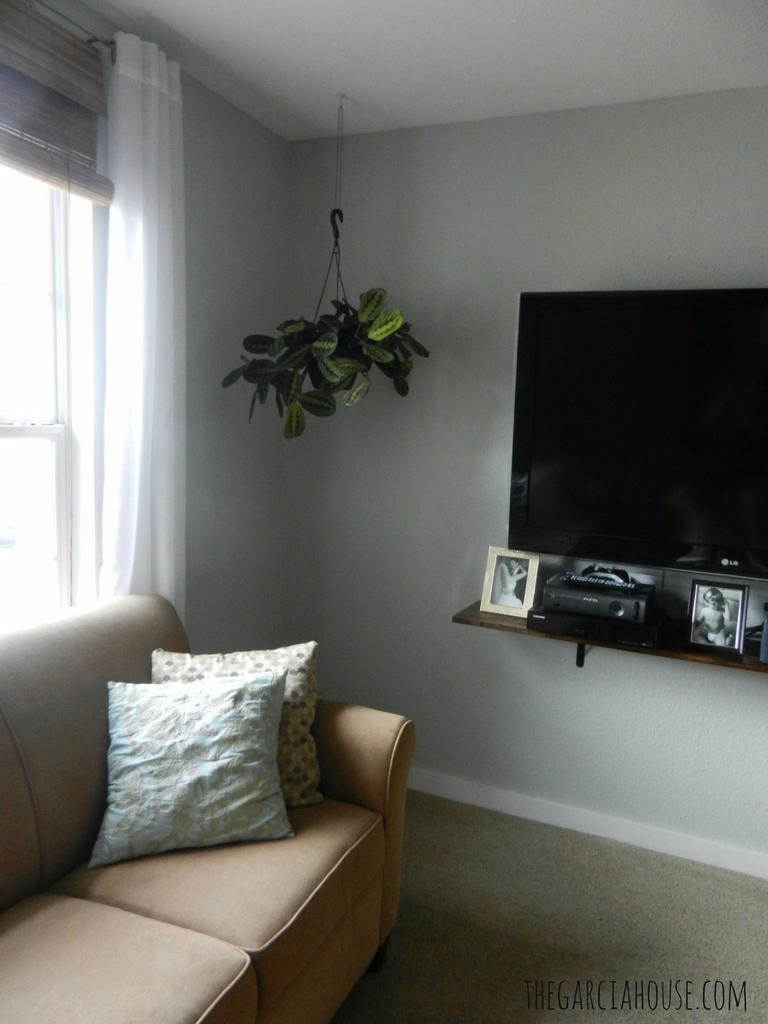 {Check out the full reveal HERE!}
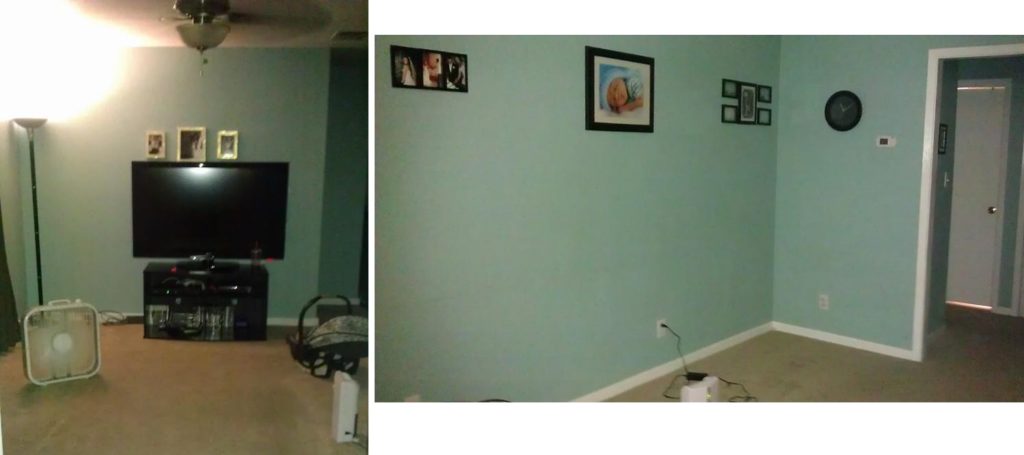
 Before:
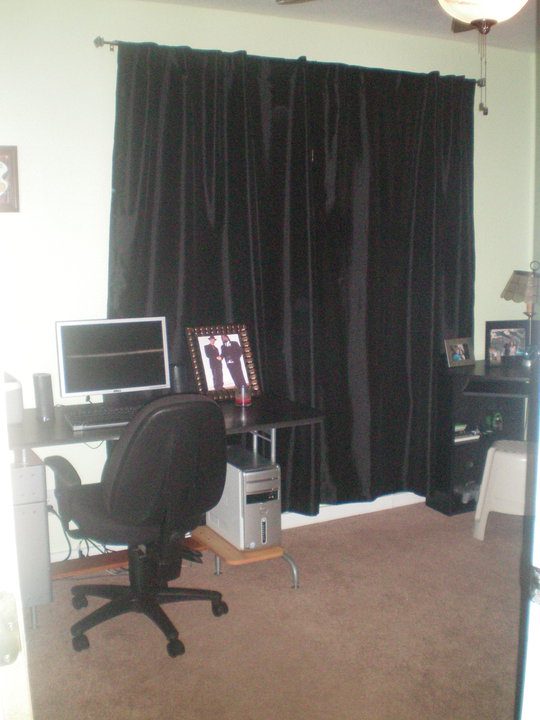 The Plan:
- Banish the neon green walls forever
- New window treatments
- Desk and chair makeover
- Add shelves, bookcase, and decor
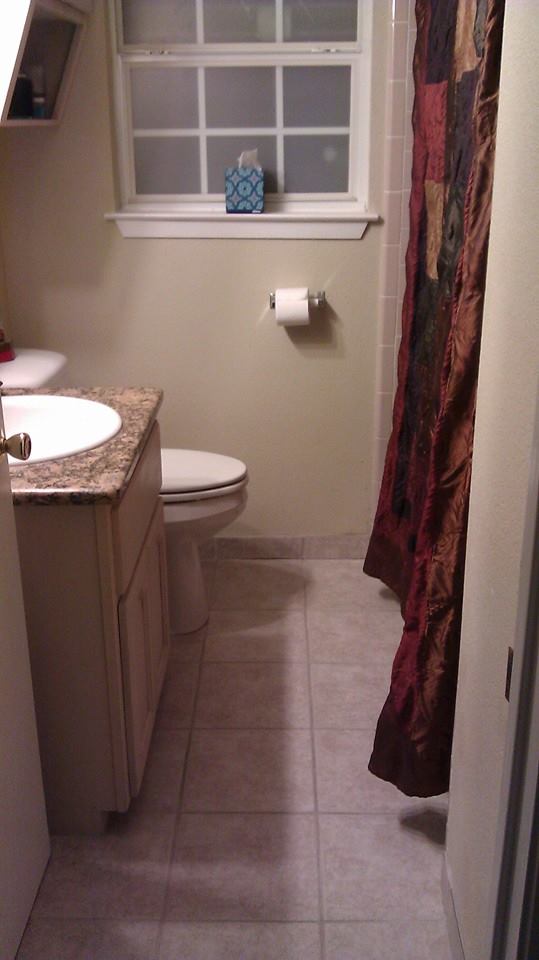
 Before:
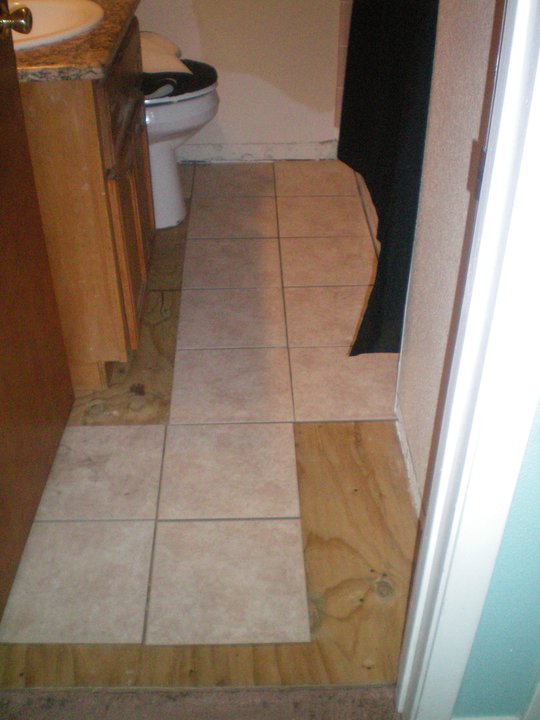 Progress:
Coming soon:
- Painted the ceiling, walls, and cabinets (again)
- Trimmed out medicine cabinet (DONE!)
- New shower curtain
- New lighting
- New sink and shower fixtures
- New knobs and bathroom decor
- Eventually, we're re-tiling the whole shower and redoing the floors and vanity top.
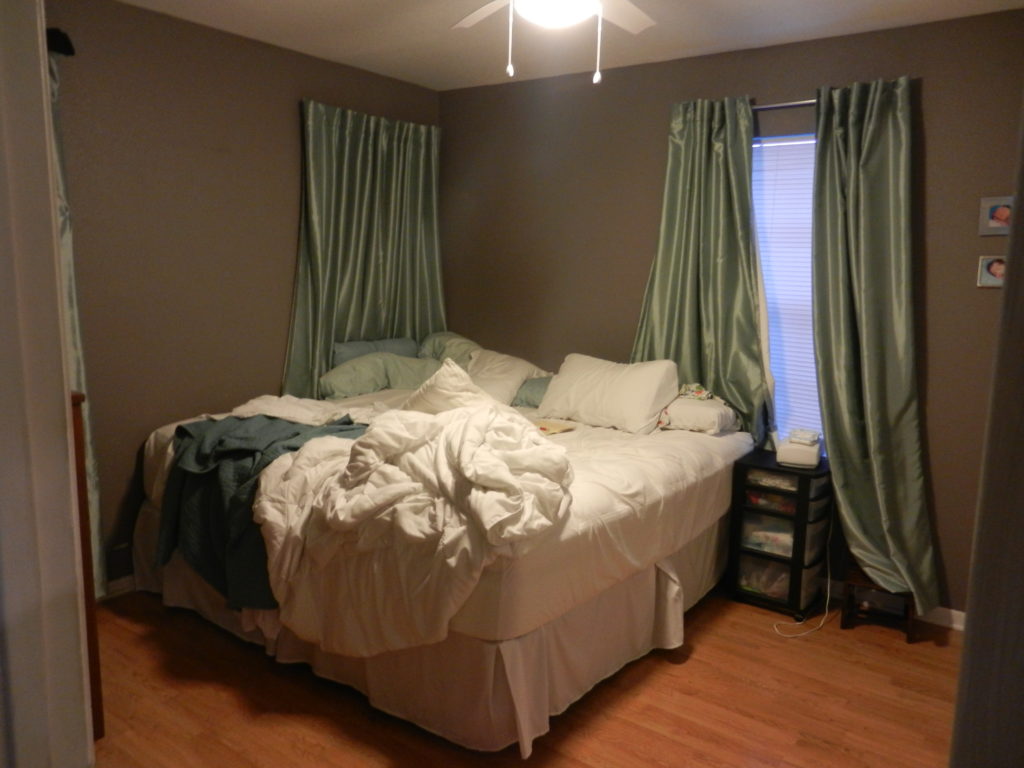
 Before:
This is the "Before" so, ergo, I don't have to make my bed! That's my story and I'm stickin' to it.
The Plan:
- DIY upholstered headboard, footboard, and rails
- New paint
- Plants
- Throw pillows
- Dresser makeover
- Wall mount TV (not pictured here; on wall in front of bed)
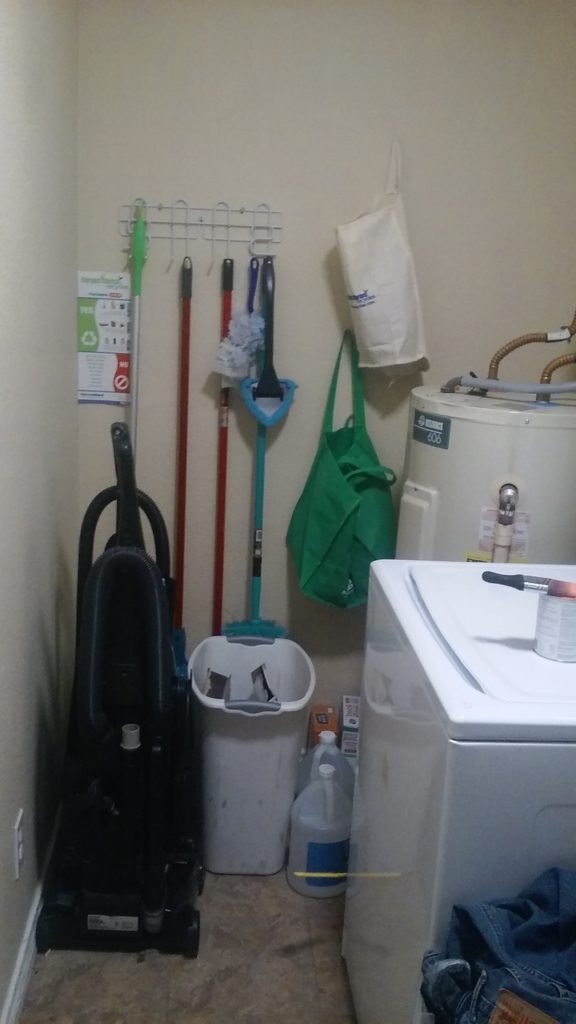
 Before:
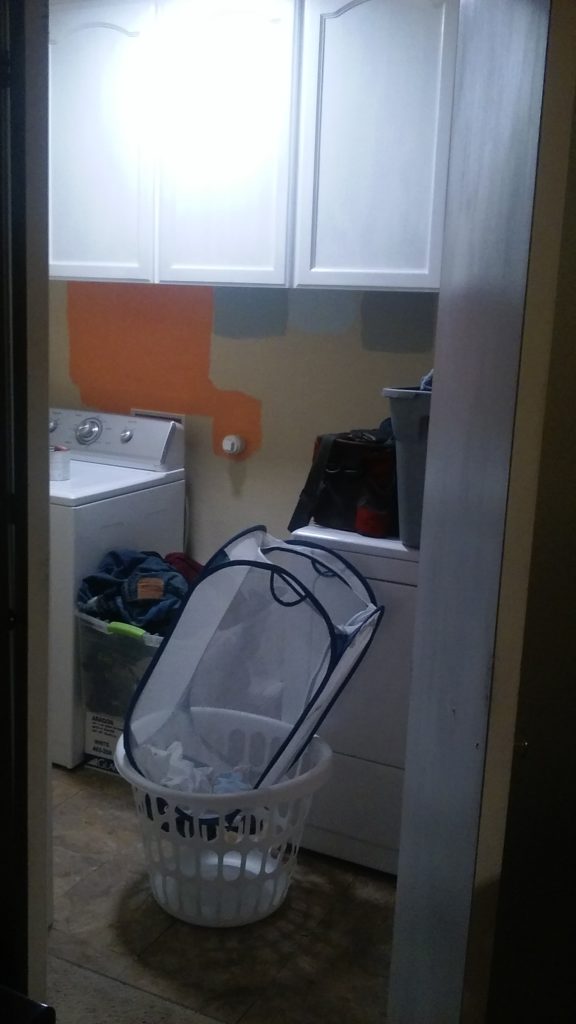 The Plan:
- Repaint (see my samples above?)
- Rearrange washer/dryer
- Recess dryer to maximize floor space
- Add rod for hubby's work clothes
- Add shelf for hubby's lunchbox
 Before:
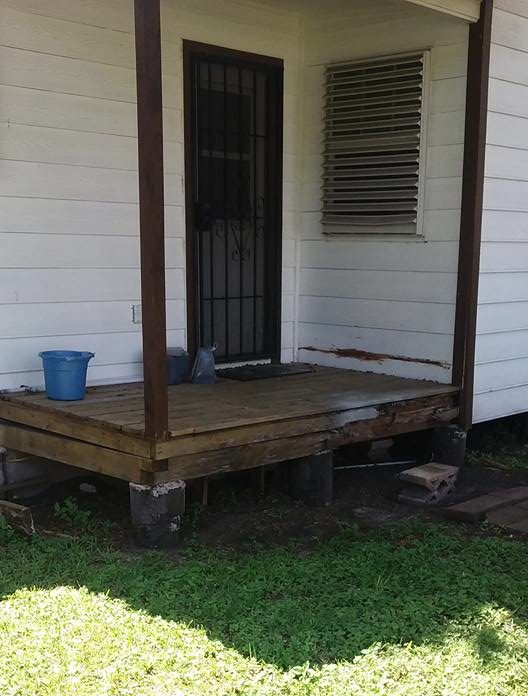 Someone did NOT know what they were doing when they built this "deck" (it wasn't us...).
After:
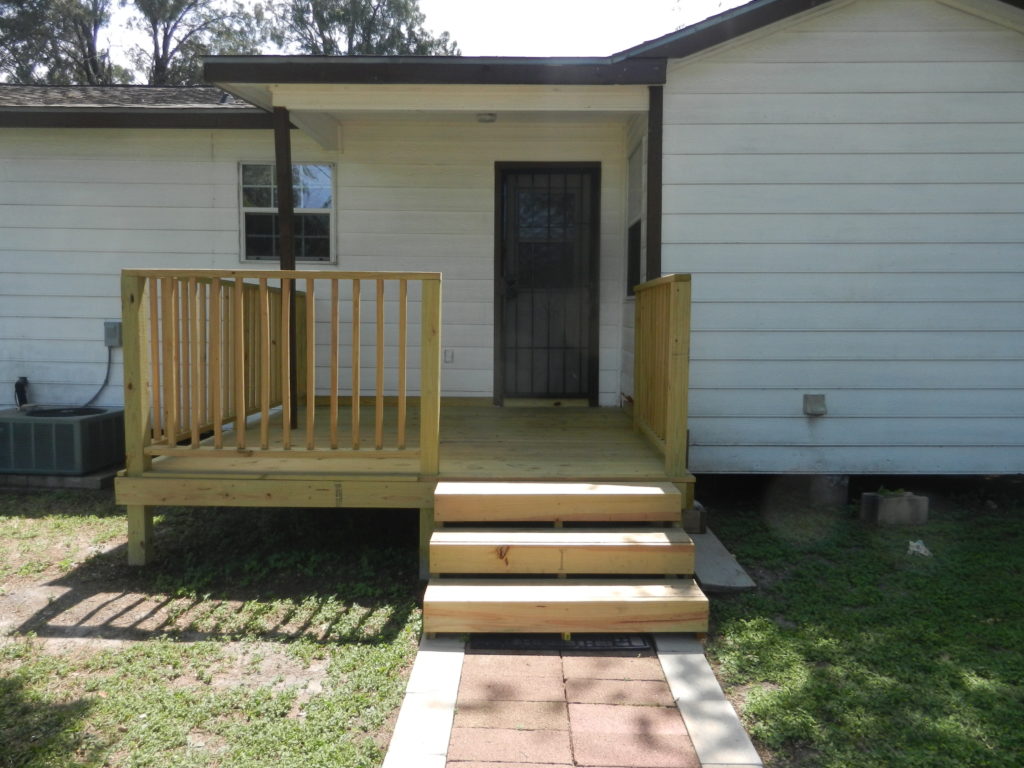 {Check out the Deck Reveal HERE , decorating plan HERE, and solar lights HERE!}
In the back, we still need to:
- Paint/ stain the deck
- Fix up the lawn
- Replace the fence
- Add a fire pit surround
- Add fun activity zones for kids
 Check our Facebook Page for sneak peeks along the way!
Thanks for joining us as we tackle all of this! I'm so excited to share all the changes with y'all 🙂
Save
Save
Save
Save
Save
Save
Save
Save
Save
Save
Save
Save
Save
Save
Save

