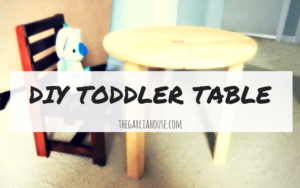
Hey y'all! Since I'll be sharing tons of kitchen stuff in the coming weeks, I wanted to share a different/ quick little project I put together recently. Okay, maybe by "recently" I mean "8 months ago." Roman was 2. I'm being liberal with definitions of time.
We have a counter height dining table and chairs, so when Roman started outgrowing his highchair, I had to figure something out because he couldn't comfortably reach the table when sitting in a "grown up" chair.
When I was a kid, we had one of those plastic kiddo picnic tables. Those are still around, but I didn't wanna add something plastic or bulky to our house. Plus they're over $50.
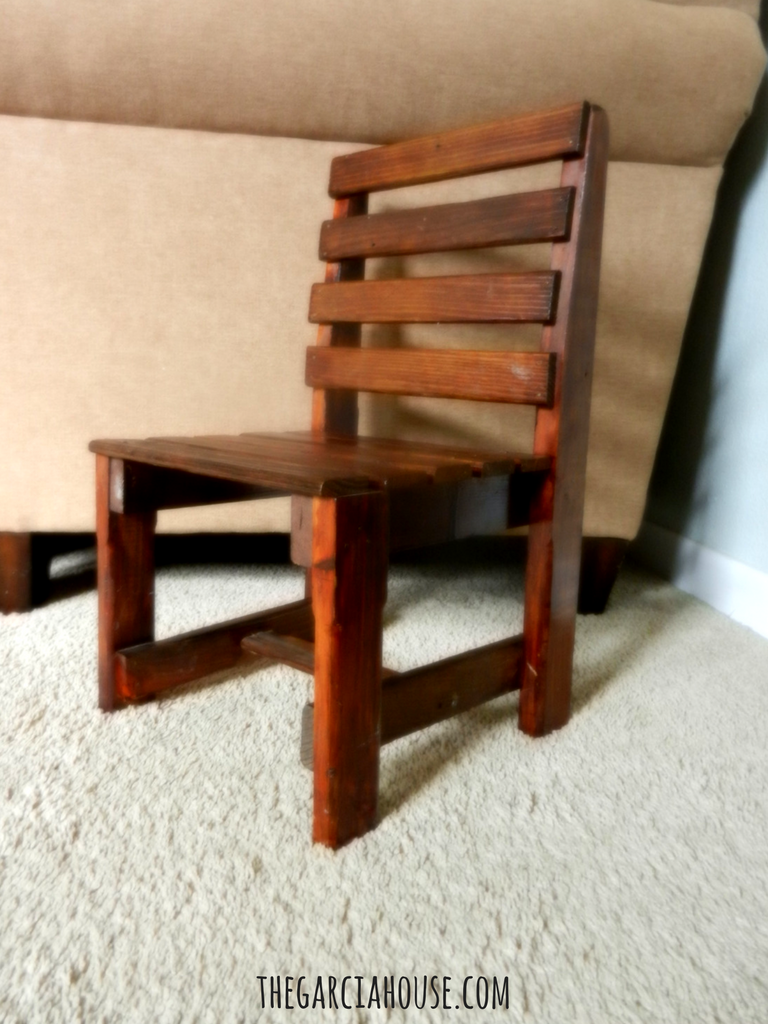
Also, look at this adorable little chair that Roland made in wood shop back in middle school guys:
We use to joke about hanging onto it so our kids could use it, and here we are!
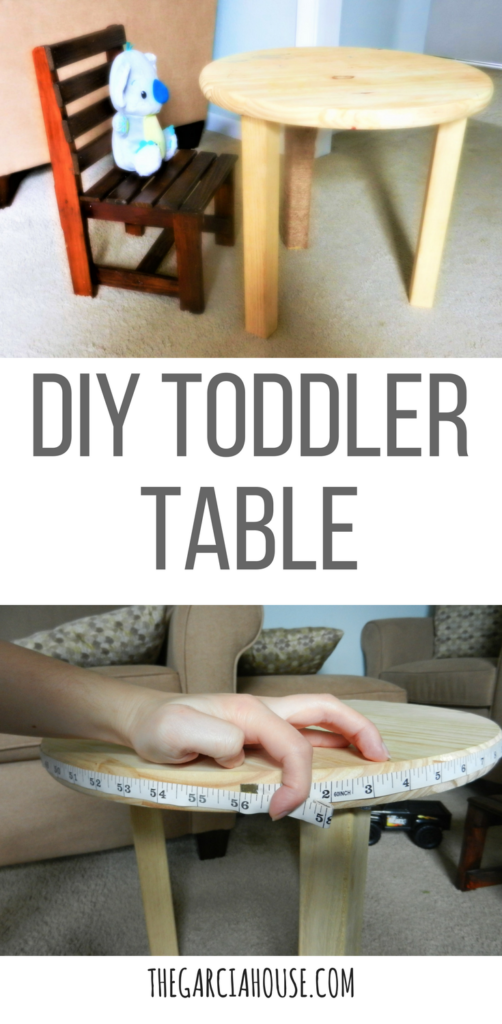
So the obvious answer was for me to make a little table to go with it 🙂
I wandered the aisles of Home Depot and came up with a plan requiring these supplies:
- 17" round pine wood
- (3) 15" wood furniture legs
- (3) top plate hardware
I got everything for under $35.
You'll also need a drill, a pencil, and a sewing tape measure (the kind used to take body measurements for clothing) to put it together.
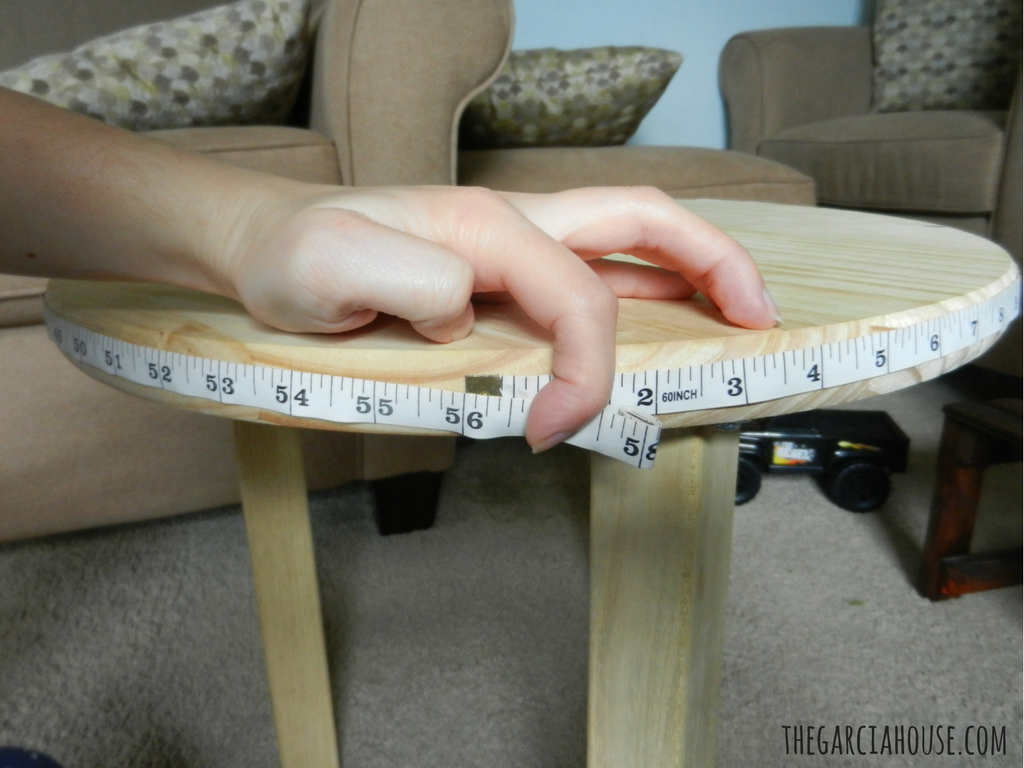
Assembly is a breeze, too! You measure the circumference of the table top (mine measured 56").
Divide this by 3 (roughly 18 5/8"). Then you'll make 3 marks spaced this many inches apart around the underside of the table top edge to mark where the legs will go. Making sure the three legs are spaced evenly ensures the table will be stable.
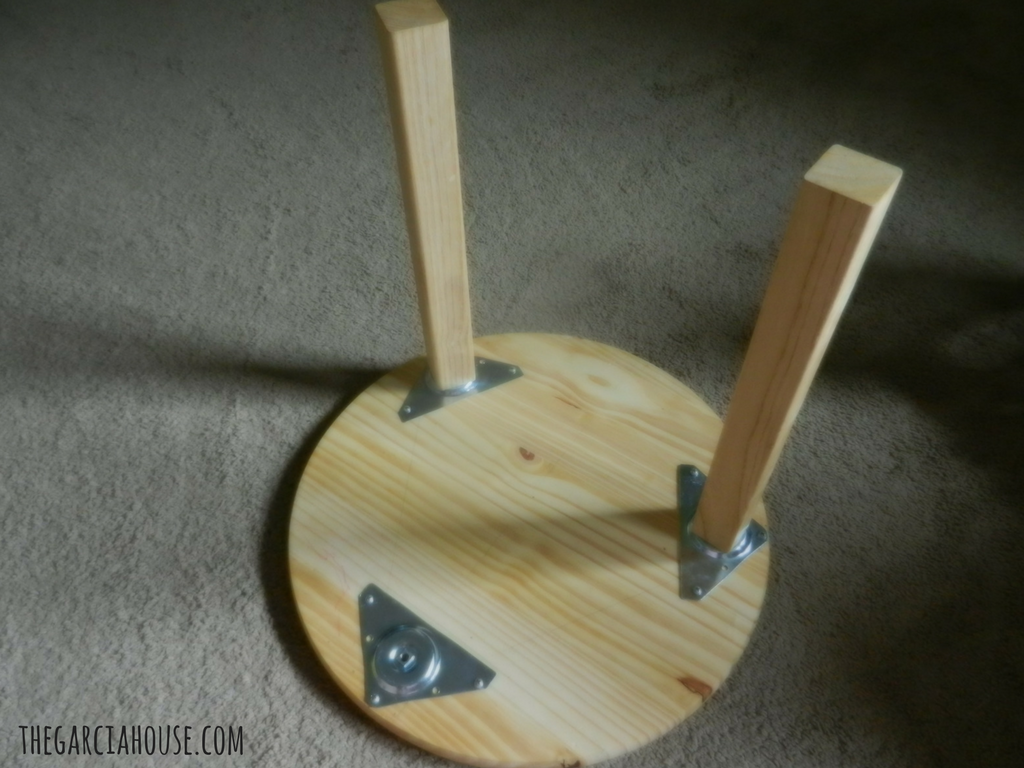
Now place your hardware at your three marks, and use a pencil to mark your screw holes. You can drill a small pilot hole first if you'd like, but I was able to just drill straight in with no problems.
After your hardware has been attached, you can just twist your legs on and that's it! You're done! You may want to lightly sand the table top with a fine grit sand paper if yours is a bit rough around the edges, but mine was buttery smooth. You can also decide to seal it, stain it, or paint it at this point.
I hope y'all enjoyed this little tutorial! Roman uses it every day for drawing/ playing and eating snacks at. Have you ever made anything for little ones to enjoy? Tell me in the comments!
Coming up in the next post, I'll be sharing the first project we did to kick off the kitchen makeover! Once we did it, we wondered why it took us so long for such a quick update. Subscribe below to be the first to see new posts and never miss any content 🙂
Until then,


