Have you ever heard of salt dough? The name is pretty self explanatory: it's salt, flour, and water combined to form an inedible dough that's awesome for play time or crafts.
I surprised Roland on his first Father's Day with these impressions of Roman's little hand and foot prints. Look at how tiny he was! (crying over here because my little baby is about to be 3!!)
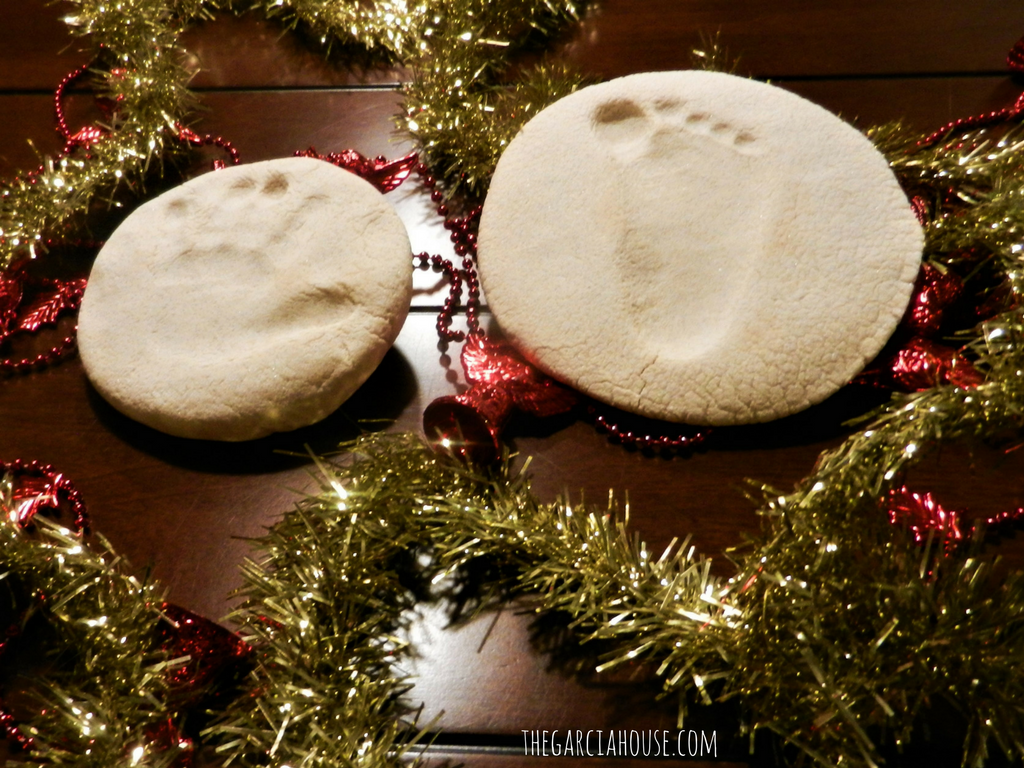
Now we'll always remember how small those tiny hands and toes were with these permanent impressions.
While you could use if for all sorts of things, the holidays are a perfect time to make salt dough ornaments and sentimental keepsakes!
Here's some ideas for ornaments:
- Child feet/ hand prints
- Pet paw prints
- Key to your first place (or current home)
- Dog/ Cat collar tags
- Freehand carved designs
- Use cookie cutters to make shapes (gingerbread men, snowflakes, reindeer), then paint
- Initials
- Wedding ring imprints and/or carve out wedding date
Honestly guys, the only limit is your imagination. So once you know what you want to make, here's how to do it!
How to Make Salt Dough Ornaments:
You'll need:
- 2 cups of flour
- 1 cup of salt
- 1 cup of warm water
1. Mix ingredients together
Mix the salt and warm water together until the salt dissolves. Slowly add flour and mix until combined.
2. Roll out dough into 1/4 to 1/2 inch thick sheet (thicker for impressions)
You can place wax paper over the dough to keep it from sticking to the rolling pin.
3. Make impressions, carve, or use cookie cutters
No cookie cutters? You can use cans or cups to cut out circles for impressions!
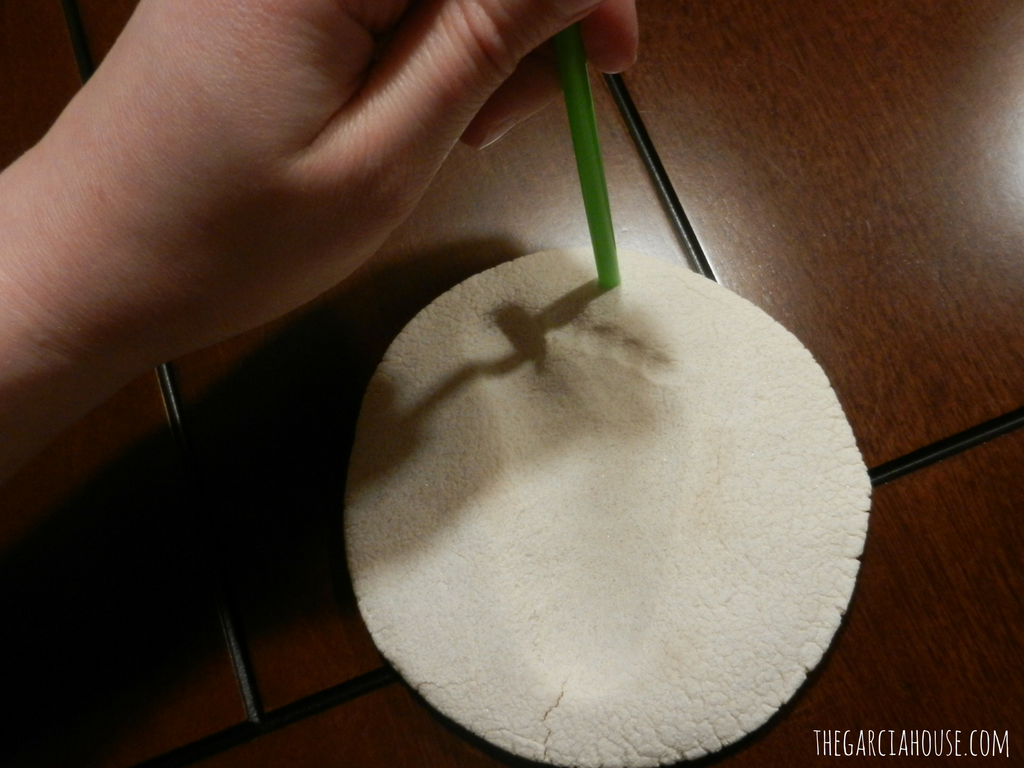
4. Make hole for hanging
Use a straw to punch out a hole near the top for hanging the ornament
5. Bake at 250 degrees (F) until dry (1-2 hours)
Thicker ornaments will take longer to dry out.
6. Paint ornaments (optional)
You can also brush with glue and sprinkle with glitter!
7. Hang with ribbon or twine
That's it! Pretty neat, huh? I want to try to make a new ornament each year with Roman 🙂 I hope you enjoy making something memorable this holiday season!


")