You guys know how I'm all about squeezing the most out of our little rooms so that they don't feel as small as they are. In my last post, I shared how we accomplished that in our Living Room (<click for a bunch of space enhancing ideas if you missed that post!).
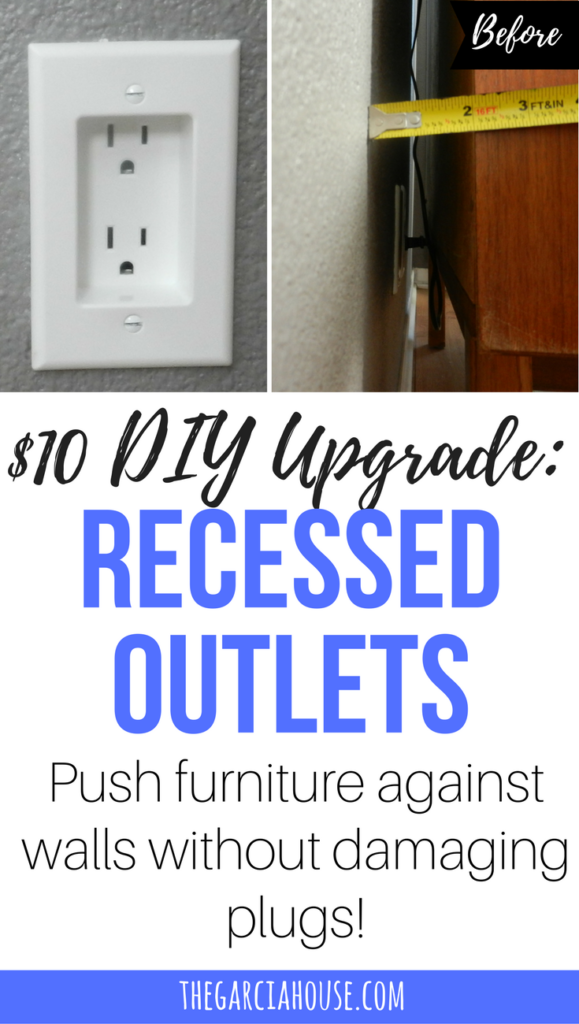
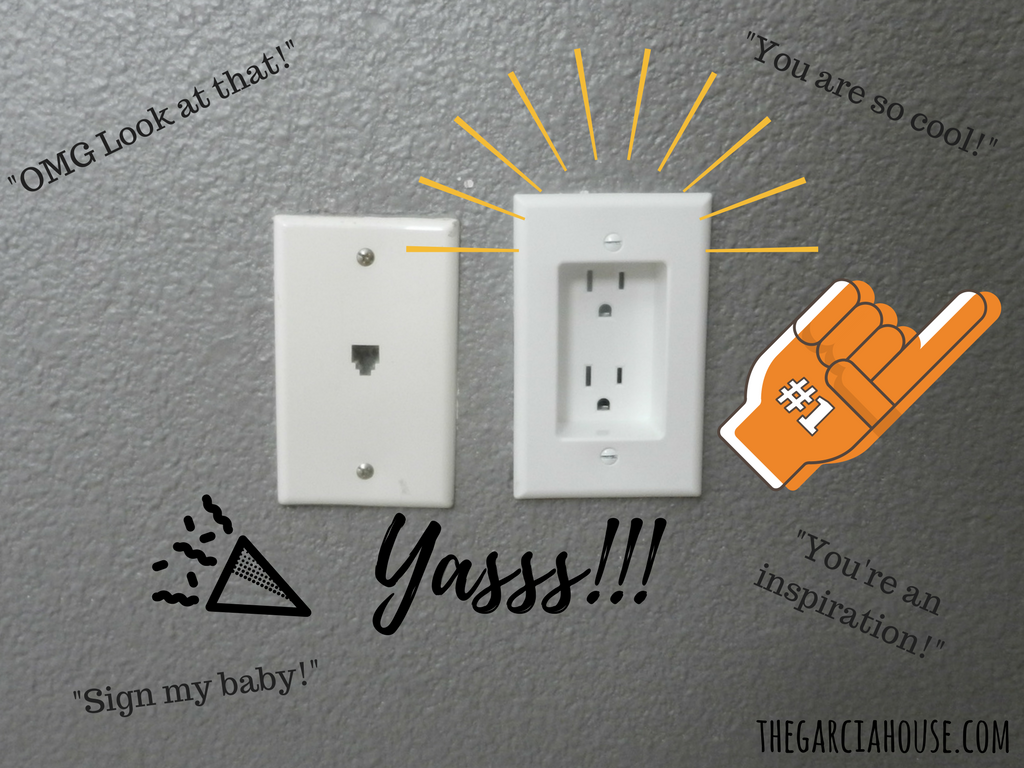
I want to show y'all another DIY upgrade that you can use all over your house to reclaim some space. Today's #smallhomehack is installing recessed outlets!
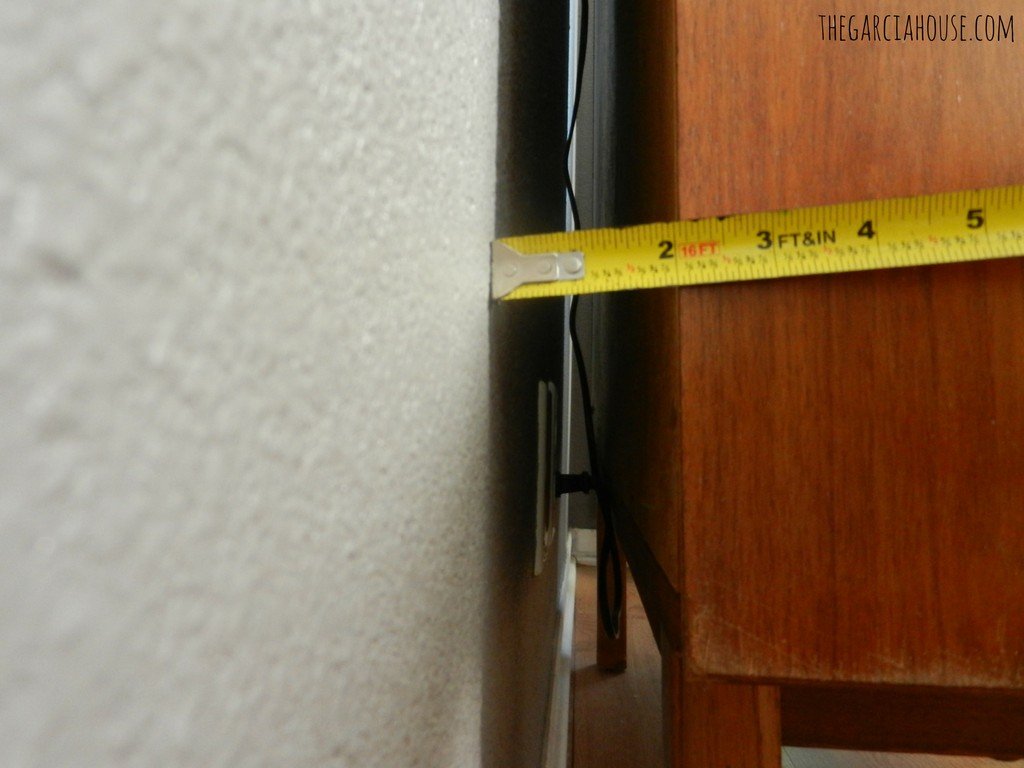
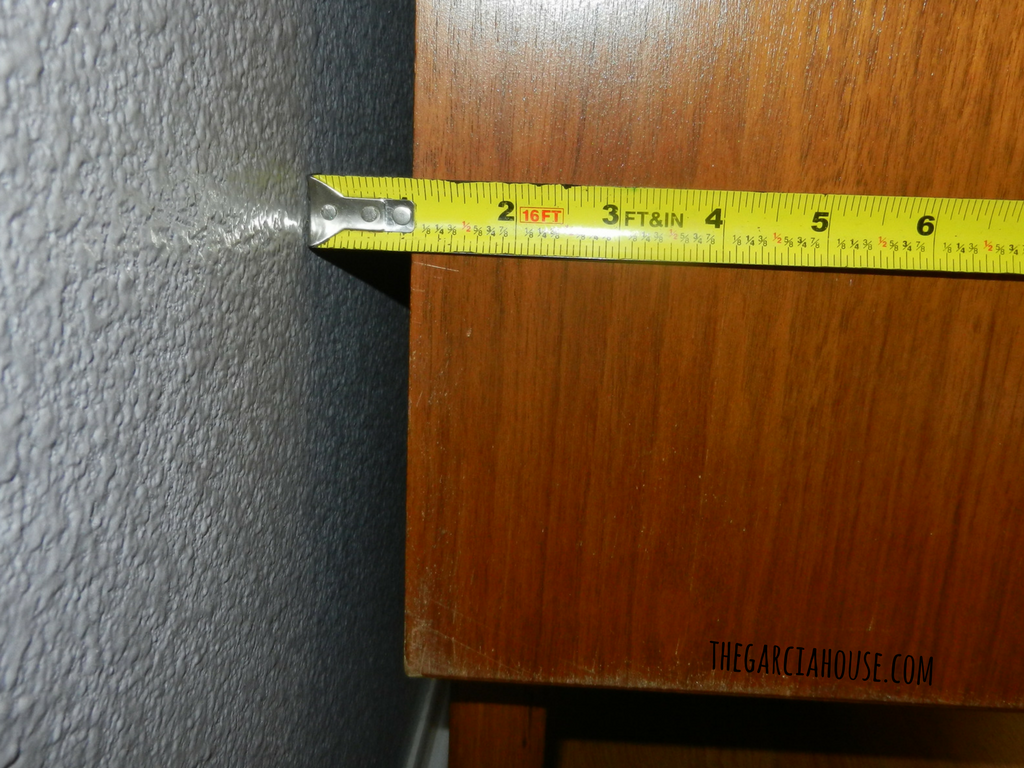
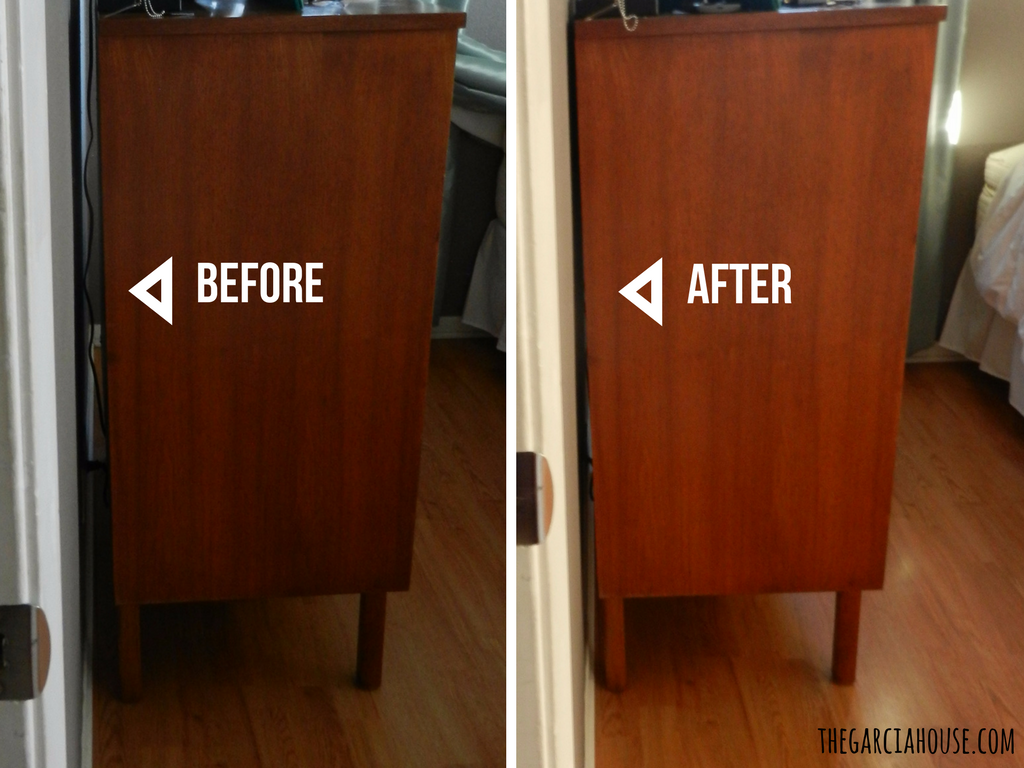
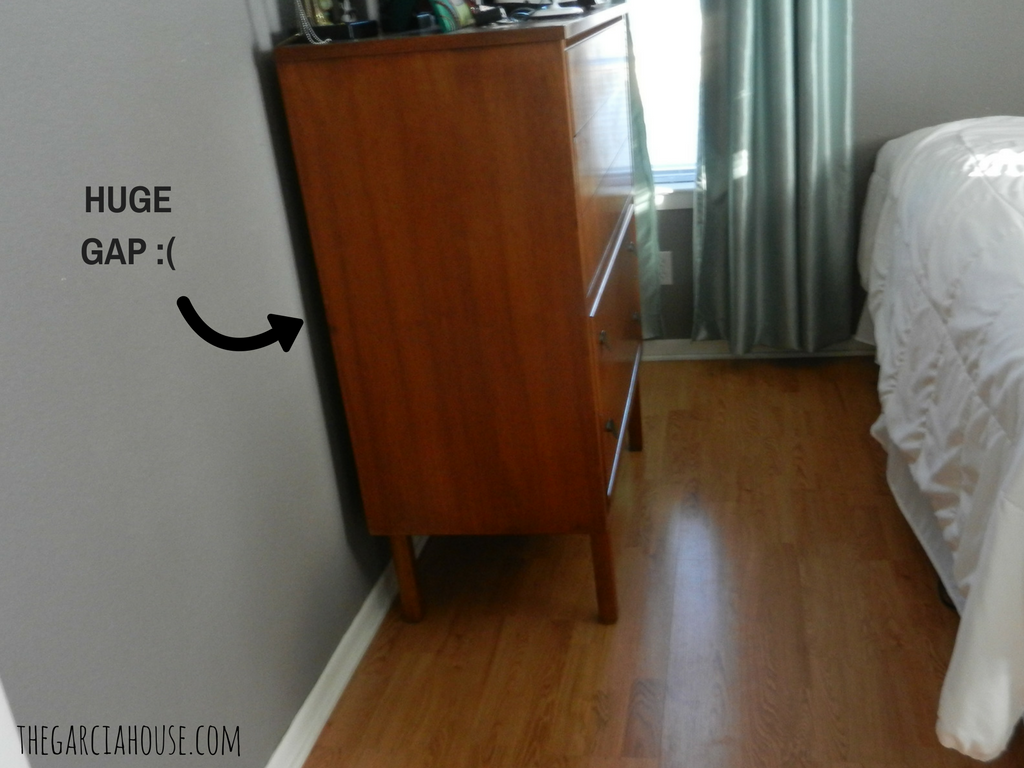
Do you have dressers, desks, or other furniture sticking out in a room because there are lamps, alarm clocks, cellphone chargers, or TVs plugged in behind them? With recessed outlets, you can safely push your furniture closer to the wall (in some cases, flush with the wall) without damaging your plugged in things. That's what we did in our master bedroom. Before this project, we had to leave a 2 inch gap behind the dresser so we didn't smash our alarm clock plug.
It doesn't sound like much, but in a small room, every square inch counts! And the dresser sticking out creates a bit of a narrow path in front of the bed.
Now as I've said before, I know doing any kind of electrical work can be intimidating, but this is a simple and quick project that you can safely do! This will save you SO much money versus calling an electrician. A company might charge anywhere from $60-$100 per plug. If you have a few to upgrade, that gets pretty pricey!
Doing this yourself will cost you $10 in materials ($50-$90 savings per plug!). If you don't have some of the tools you need for this project, you will pay a bit more upfront, but then you'll have those tools for other common electrical projects homeowners run into (like changing out light fixtures and ceiling fans).
So if I haven't scared you off yet, awesome! Let's get to it! 😉
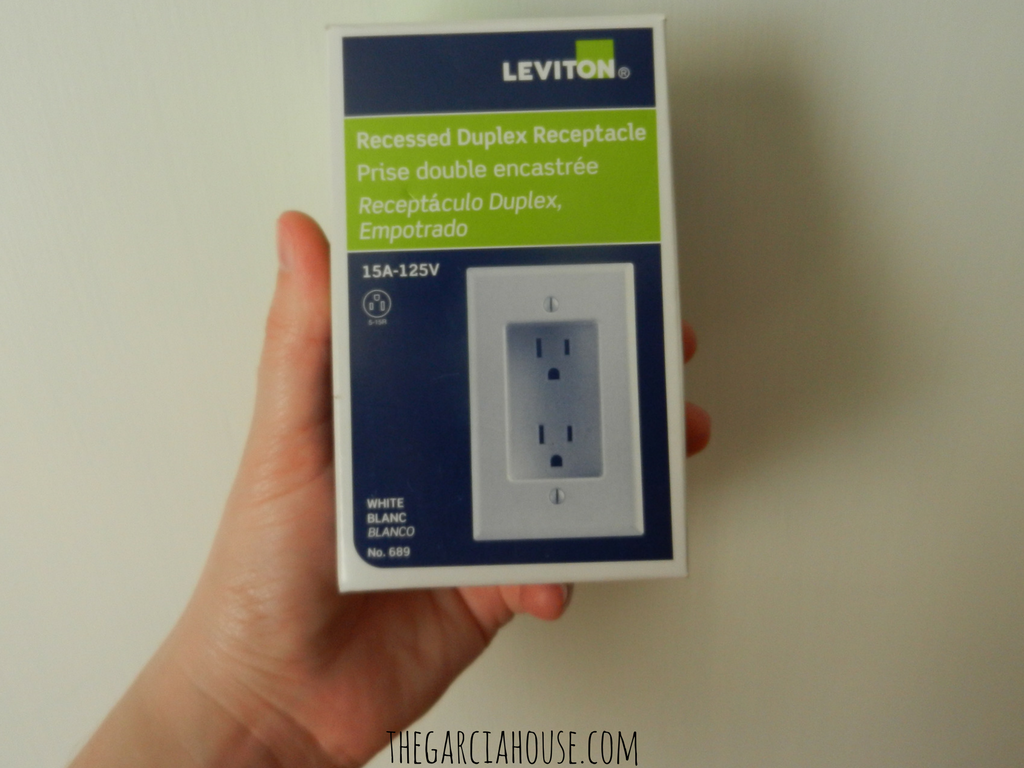
Here's a list of materials you'll need:
- Recessed outlet
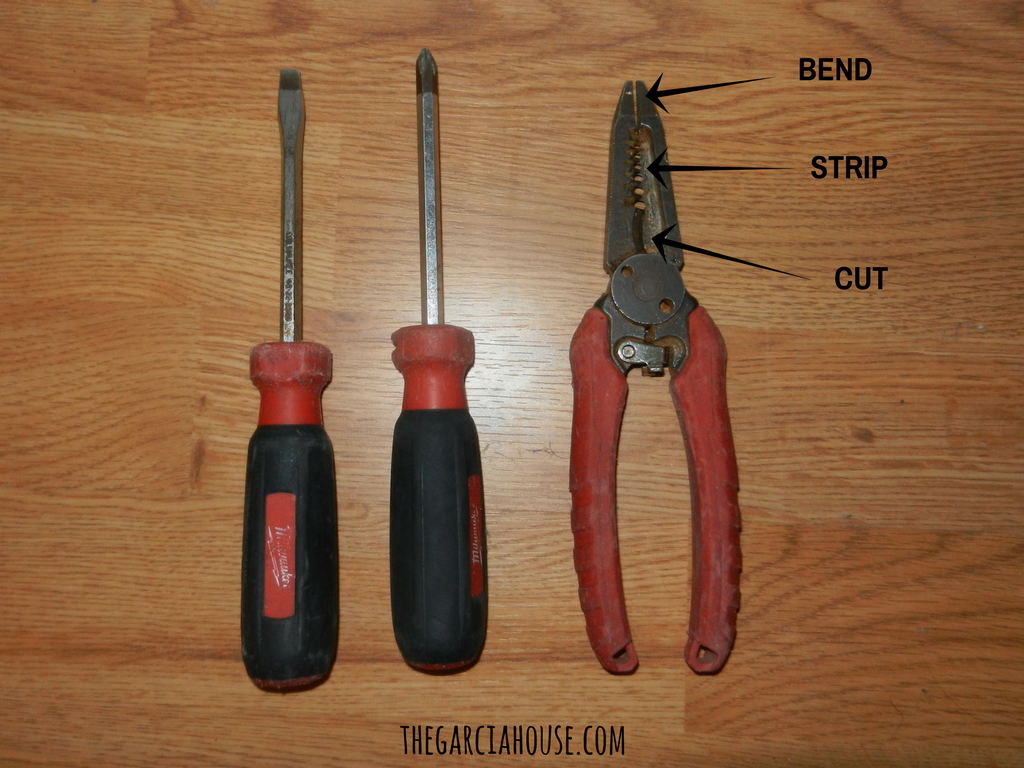
- Flat head screwdriver
- Philips screwdriver
- Wire strippers/ cutters
- Outlet Tester
- Pen tester
Time: 1 hour (We did this in 30 minutes, but I wanted to give an estimate for a first-timer. Also, if your breakers aren't labeled, that adds time!).
Step 1: Test the plug
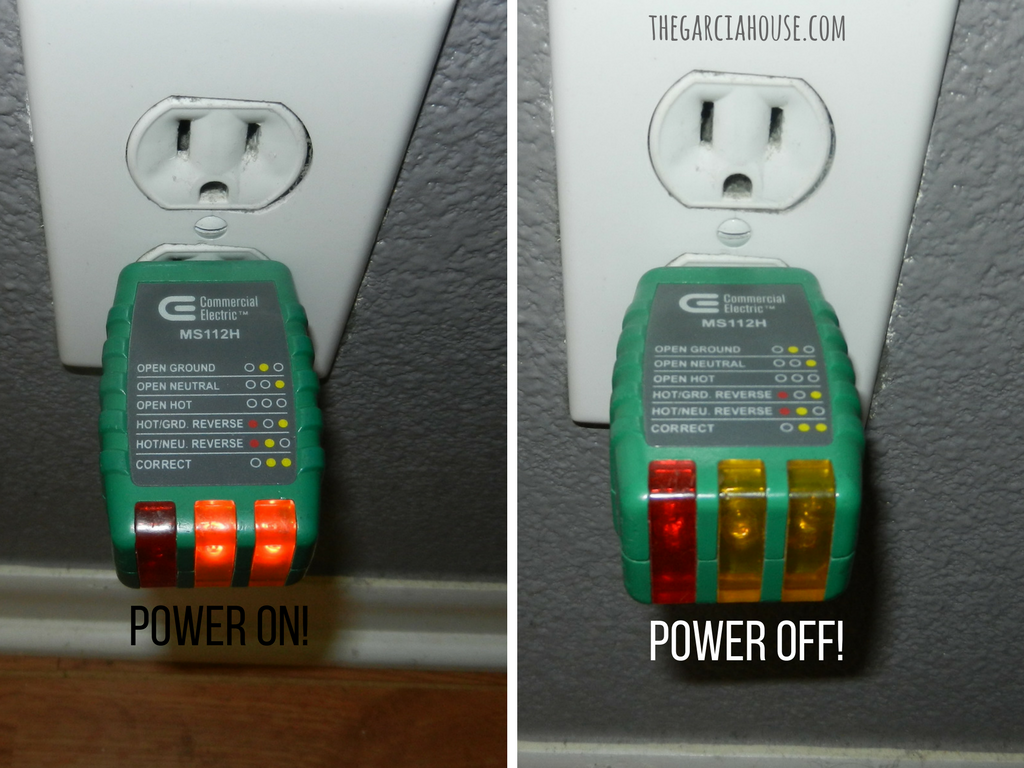
Insert your outlet tester into the plug you'd like to change. It should have two orange lights illuminated like in the picture above. This means there is power to the outlet and that the outlet is wired correctly. If your outlet tester is indicating any pattern of lights other than the one labeled "correct", you should discontinue the project and consider hiring an electrician. The other light combinations generally signify your outlet was wired incorrectly. While this is USUALLY a very simple fix for an electrician, it is not something I feel comfortable instructing a homeowner to do. I will only share simple upgrades with you guys that are being performed on correctly wired, up-to-date electrical wiring. Moving right along!
Step 2: Find the breaker and turn it off
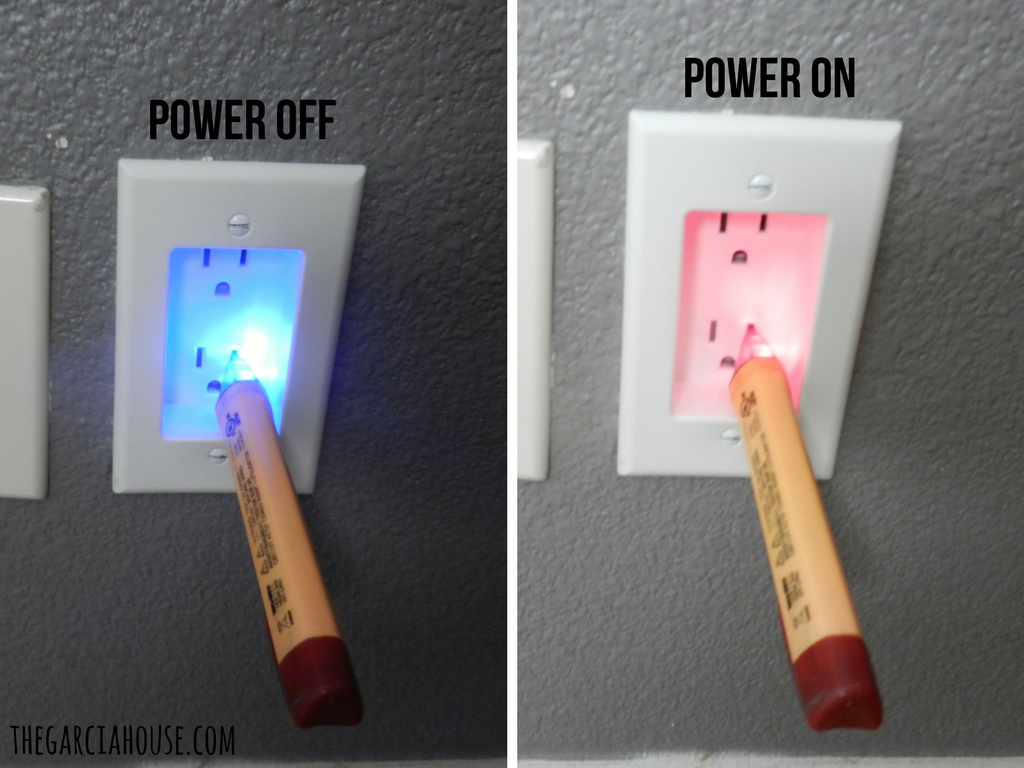
Head to your breaker box and locate the appropriate labeled breaker (ex. "Master bedroom"). Flip the breaker off. Head inside and check to see that the outlet tester is no longer illuminated (see above picture). This means there is no longer power to the outlet. You may proceed!
If your box isn't labeled properly (or at all....ugh), you have two options. You can either shut off the main breaker (cutting off power to the entire house, including your refrigerator so don't take too long!) OR you can try each breaker until you find the right one. This process will be a bit of trial and error. This will go much faster if you have a second person stay in the room with the outlet while you head to the breaker box. Either use cell phones or open windows to yell at each other. Now go down the row and flip one breaker off, then back on, at a time until the person in the room tells you the outlet tester has turned off. You may want to take this time to label the breaker so you know for next time. Now you can proceed!
Step 3: Remove the old outlet
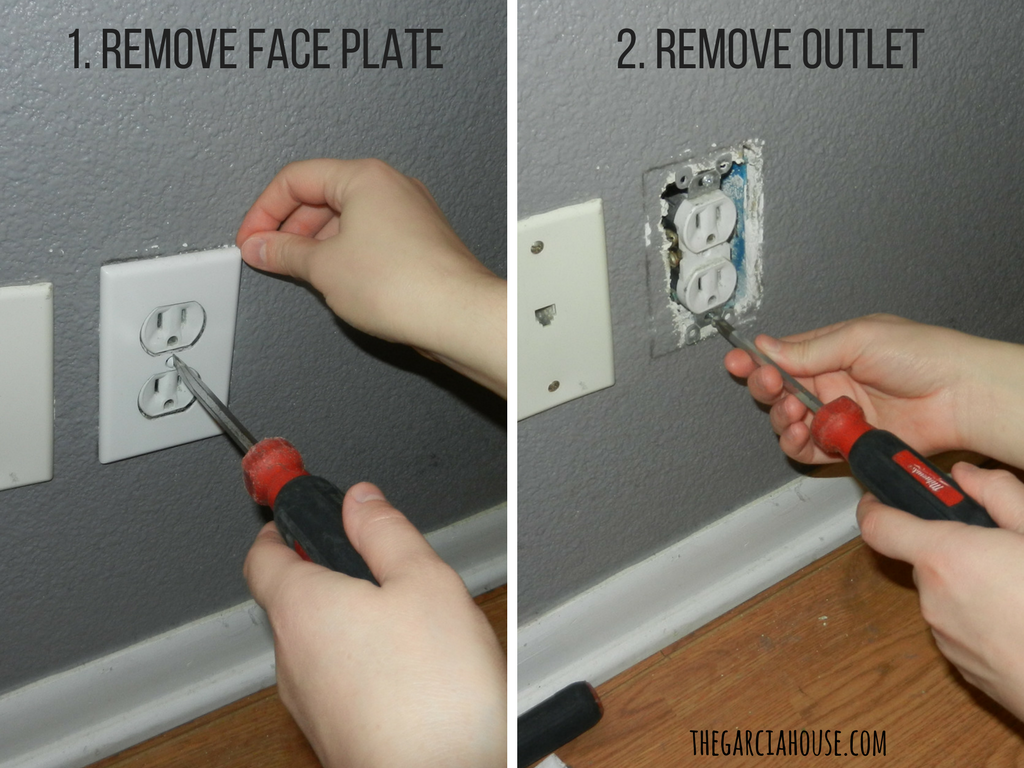
Start by using a flat head screwdriver to remove the face plate. Once removed, feel free to hold your pen tester up to the wires just to be 1,000% sure there is no power. Your pen shouldn't light up or beep. You did good. Let's keep going!
Use your Philips screwdriver to remove the two screws at the top and bottom of the actual outlet. Tug the old outlet out of the receptacle (blue box). Don't be afraid to use a little muscle. Sometimes it takes a few tugs to get those bunched up wires to budge!
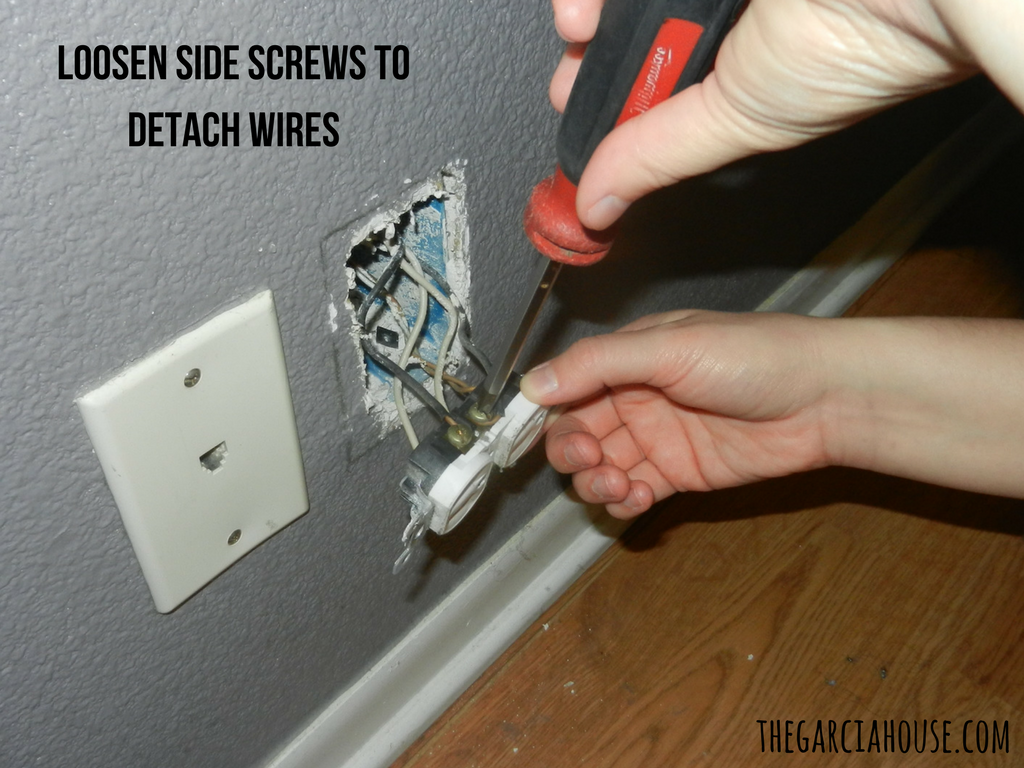
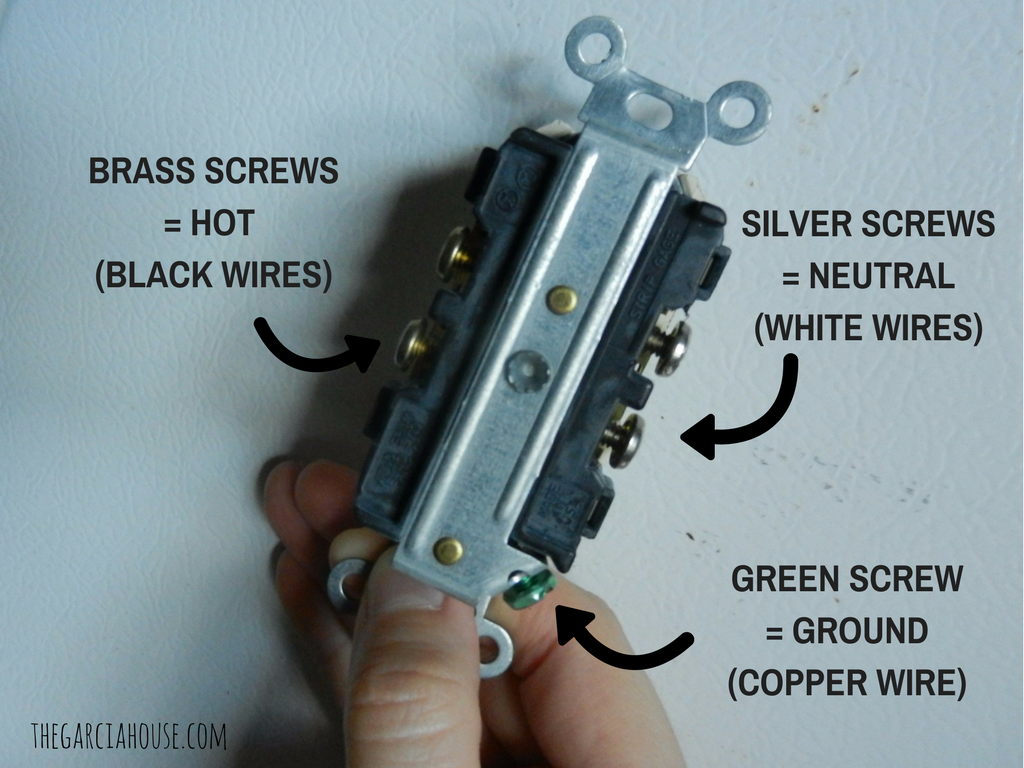
Loosen (but don't fully remove) the screws on each side of the outlet (3 on one side, 2 on the other--the green screw is for 1 bare copper ground wire, the 2 silver screws are for the 2 white neutral wires, and the 2 brass screws on the other side are for the 2 black hot wires). Now slip the wires off the screw heads to completely remove the old outlet.
Step 4: Prep your wires
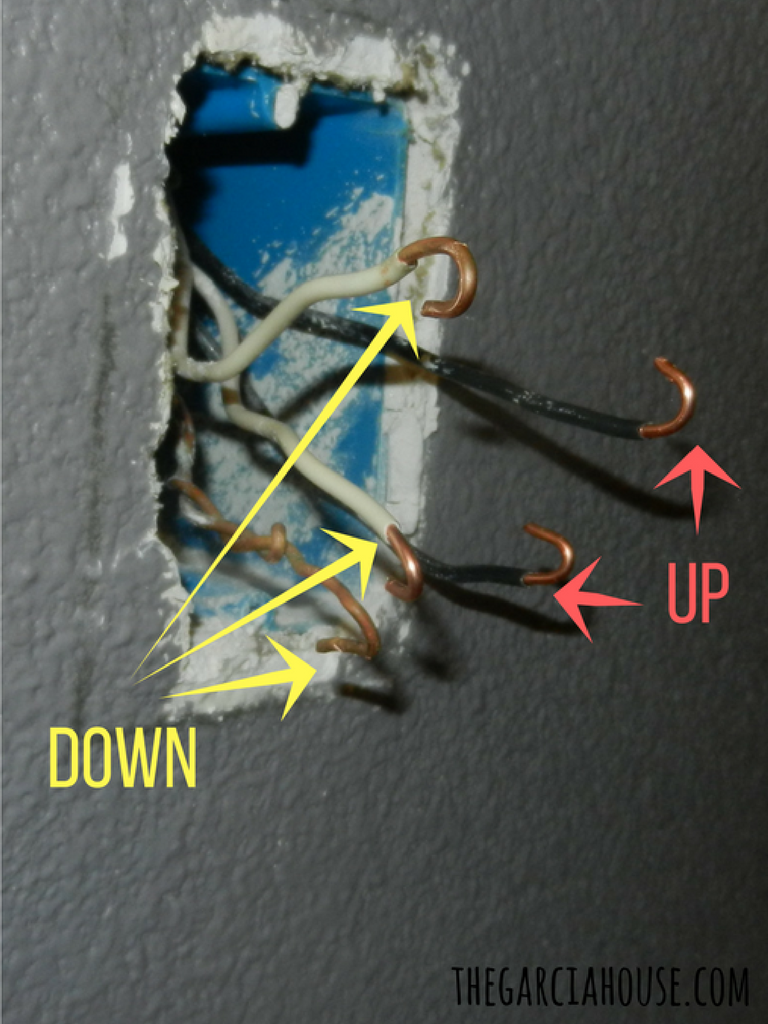
Your goal is to get the wires to look like the above picture: neat little hooks that can be wrapped around the new outlet's screw heads and tightened down to make good, clean connections. I have two important notes for you on this step!
#1 Roland says he prefers to clip off the old hooks and just strip a fresh section and bend it into a hook shape. He does this because, for him, it is faster and easier than trying to reshape the old hooks. Before doing this, make sure you have plenty of wire coming out of your box. If you have very short wires, you should probably work with the old hooks. You may need some needle nose pliers if your wire cutters aren't the type that can also grip and bend wire.
#2 To make the best connections, make sure your hooks on the left side are pointed down and your hooks on the right side should be pointing up. This is because when you tighten your screws in a clockwise direction, the wires will go with the screw and not against it.
Step 5: Install the new outlet
(The above picture is the back view of the old plug so you can see all the screw colors/ locations.)
Attach the bare copper ground wire to the small green screw by placing the "hook" around it and then tightening the screw until it is snug. Then attach your two (white) neutral wires on the same side. Attach the (black) hot wires on the other/ right side. Remember to have your BLACK wire hooks pointing up.
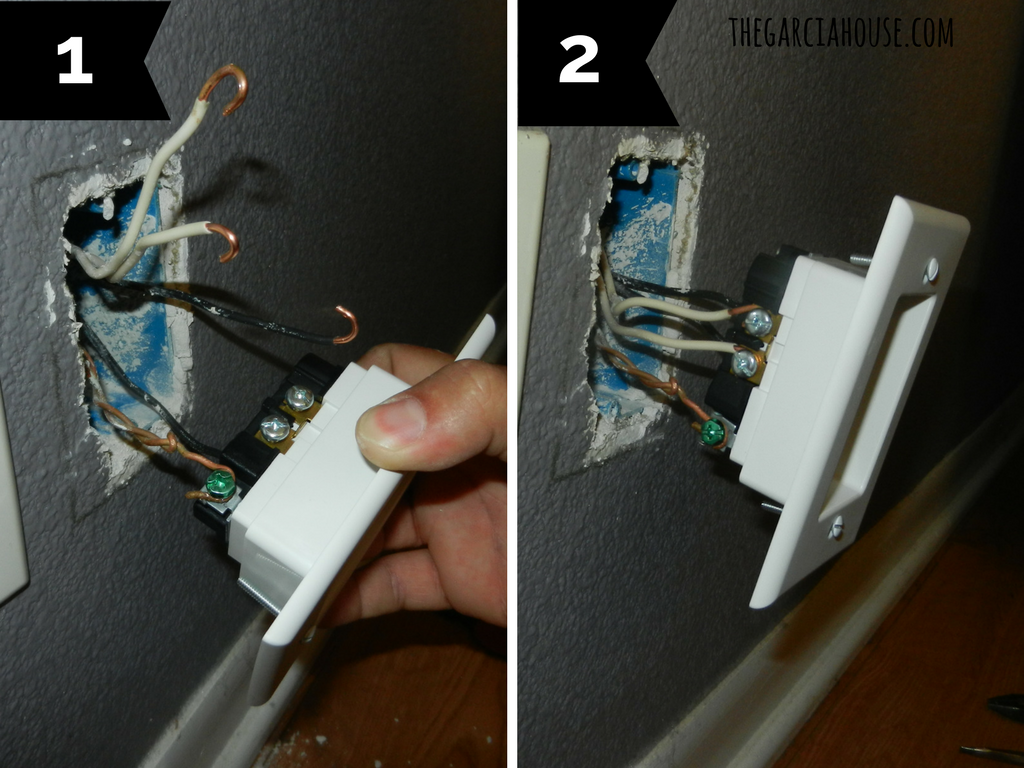
Once all wires are attached firmly, push your outlet back into the box and attach the face plate screws. Place your pen tester on the right slot in the outlet and turn on the breaker (you need a pen tester here because the larger outlet tester won't fit in the recessed outlet).
It should light up and beep. Congratulations! You're all done!
Because of the large plug we had, we didn't get to go fully flush, but we did shave off a full inch of space!
It definitely makes a difference. That space between the dresser and bed doesn't feel as tight as before. AND because the gap behind the dresser is much smaller, it's much less likely that something will fall back there.
Now that this one is done in the master, we also plan to change out the ones behind Roman's dresser and crib, the refrigerator, and behind our office desk.
So do you think you can tackle this project? Do you have any #smallhomehacks you've used in your home? Tell me about it in the comments below!


