I realize my home tour page has said for ages that the living room reveal would be right around the corner, so maybe I need to work on my expediency... I'm sorry guys. Truth be told, I was holding out until I could get around to some finishing touches. But since I have yet to get to those things, I decided the show must go on, so grab your popcorn cause here we go!
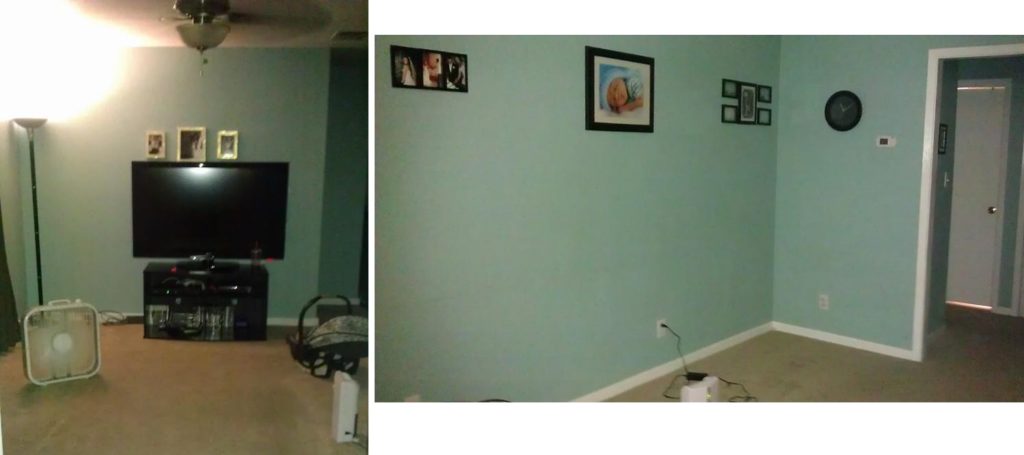
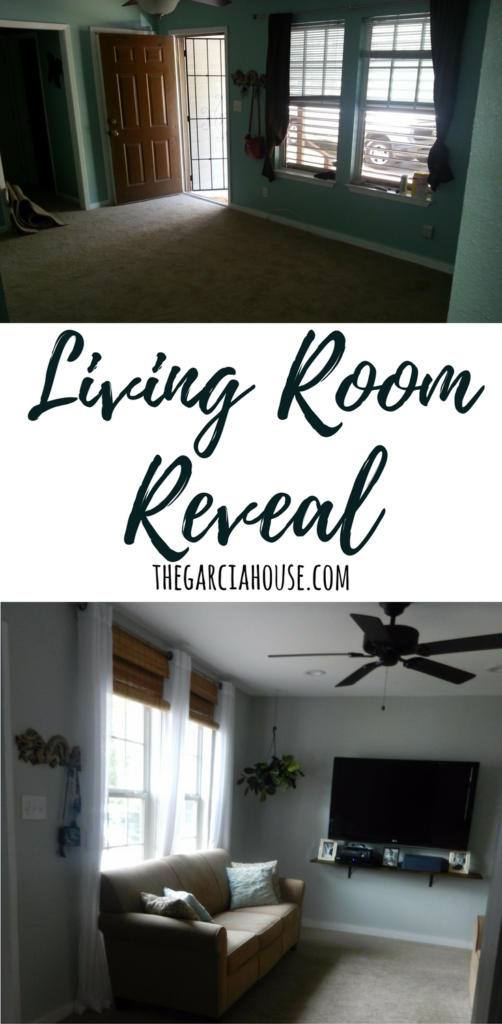
Before I started working on the living room, the walls were blue, the furniture was laminated particle board, and the frames were so undersized. The poop-brown curtains obscured the only source of light in the room and a monstrous TV stand took up valuable floor space--a premium in our little living room.
If you look past the adorable father-son combo, you can peep our poop curtains and frumpy brown couch. So much brown....
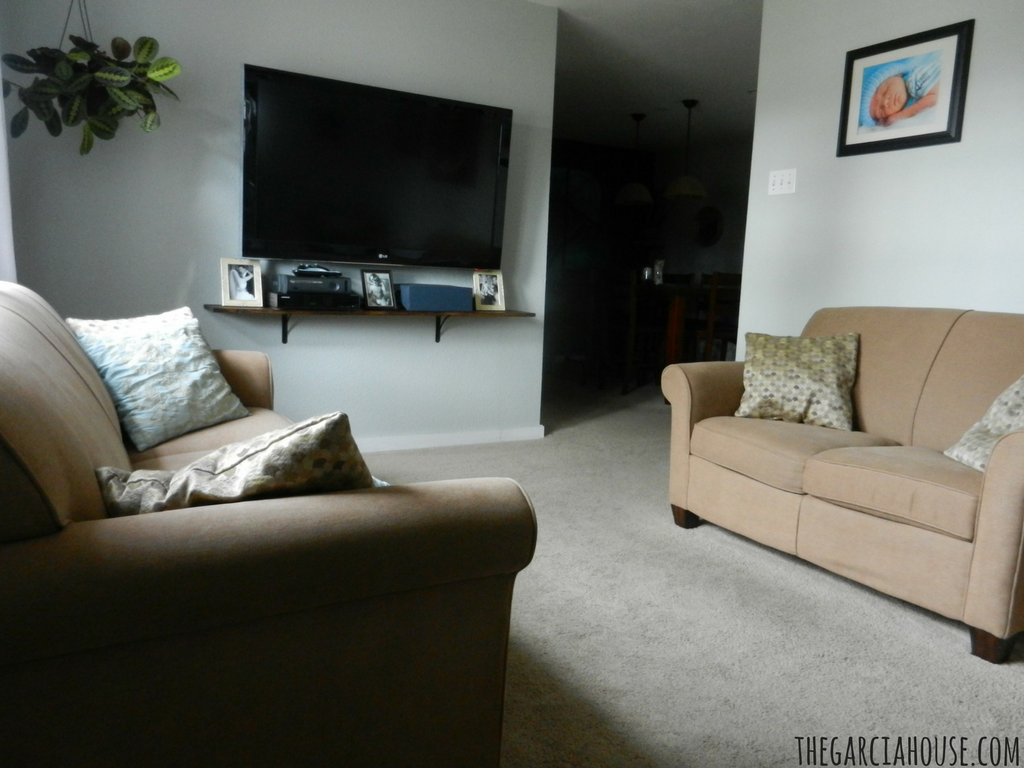
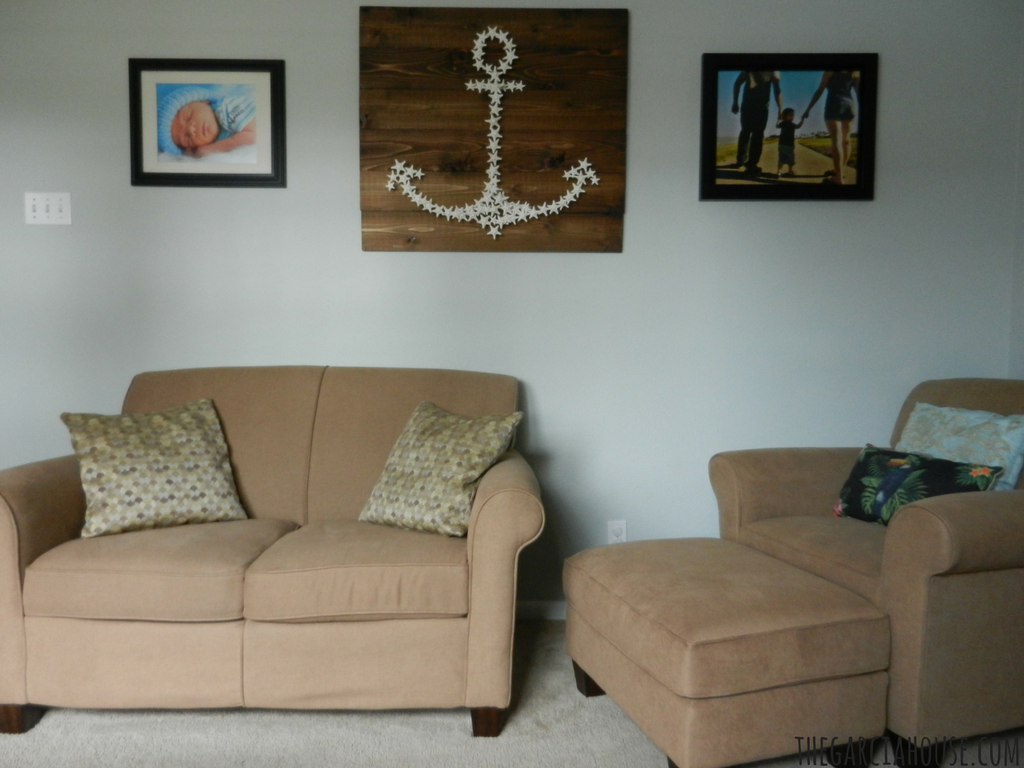
And here's what our living room looks like today:
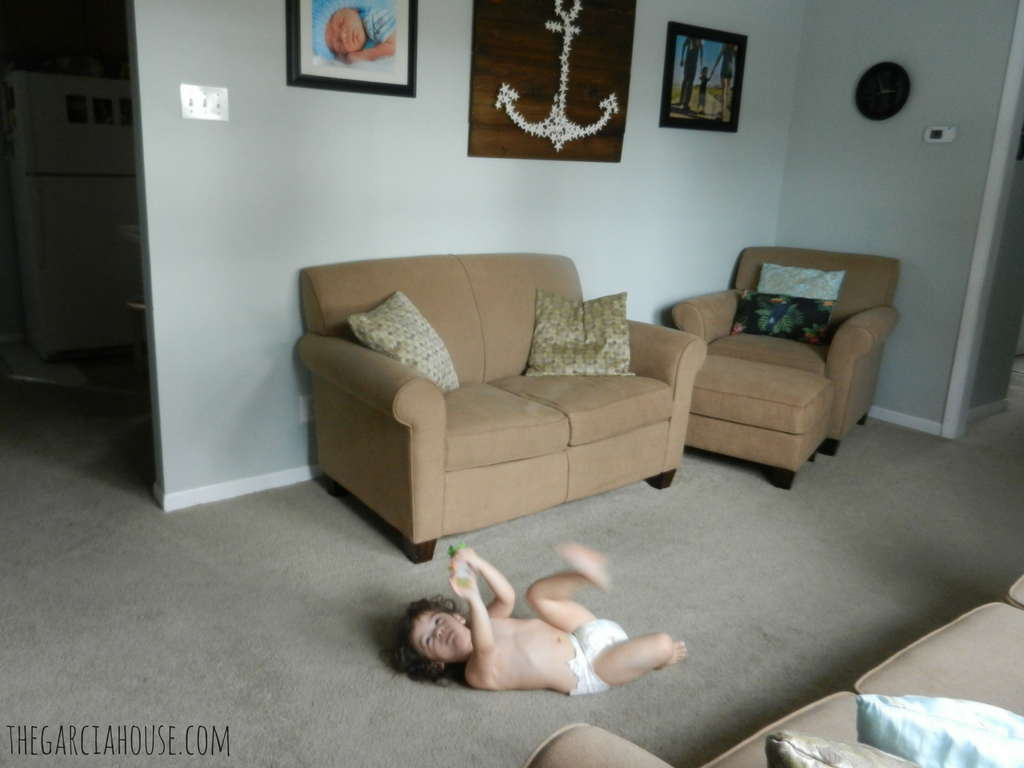
The toddler rug was an unexpected addition, but I think it makes the room 😉
If you saw my curtain post from a while back, you got an idea of the direction this room was headed in: light, bright, and airy. Getting new, more structured couches and updating the window treatments were our first big changes.
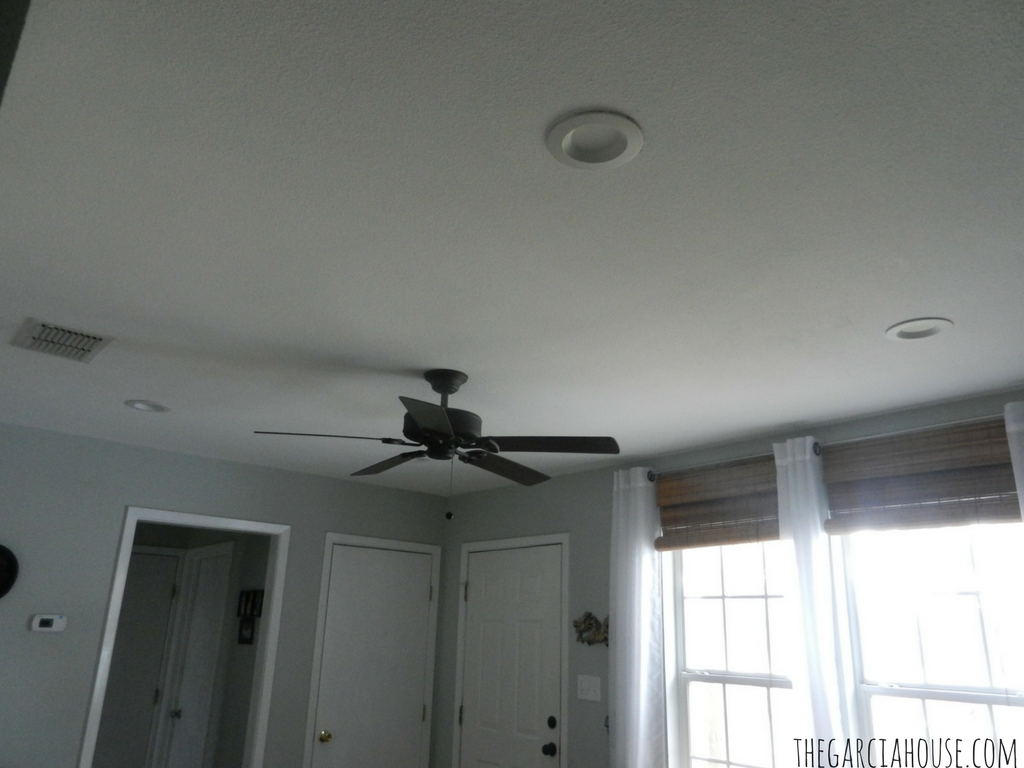
We actually only replaced our ceiling fan because it quit working suddenly! But it ended up being a good thing because I picked a fan without a light kit (to make the ceiling seem higher), and Roland installed recessed lighting on a dimmer switch. Now we can control the fan and lights separately AND we can adjust the ambiance without having floor/ table lamps taking up space we don't have! It's taken our lighting situation up a notch for sure!
We painted the ceiling (we're almost done with the whole house!) in Behr Ultra Pure White Flat Ceiling Paint. We painted the walls Gray Owl by Benjamin Moore in a Matte finish. Excellent coverage, you guys! This is one coat!
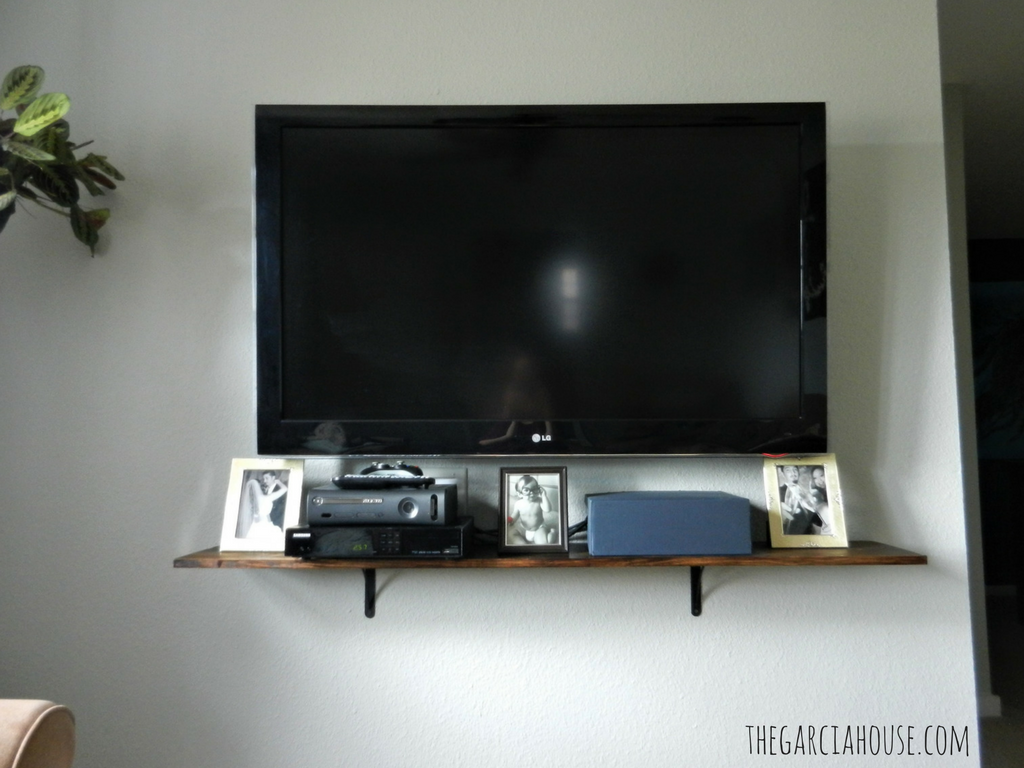
I'm really proud of this next part! We got rid of the TV console and mounted the TV to the wall with this mount. It's full motion, so we can pull it out, turn it left or right, and tilt it up or down. I was very surprised by how easy it was to set up. Roland and I mounted it in less than 30 minutes. It feels very sturdy and safe, which was a must for me. We later recessed the cords into the wall (except for the power cord; we installed a new outlet behind the TV for that). It creates such a clean look! I'll have the tutorial up for this soon 😉 We also built a shelf to house components.
Now let's check out the longest wall in the room. As you can see, Roman's baby picture was hanging in the Before photos as the focal point of the wall. Now, we removed all the smaller frames and took an updated family photo to frame in the same size as Roman's baby picture (both black frames from Michaels). These two photos now flank a piece of art I made--my starfish anchor!

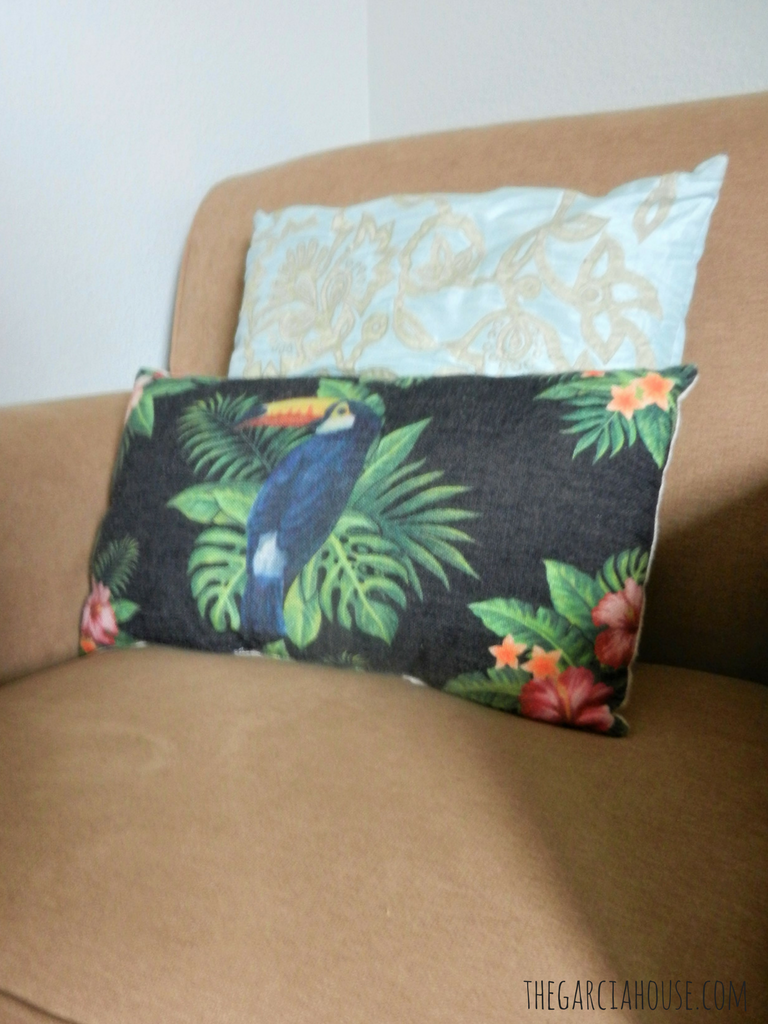
The rest of the changes are smaller things like this tropical toucan pillow that I love! Scored for $5 at Michaels. We also got new doorknobs and locks for the front door.
Here's a list of what we did:
- Roland installed recessed lighting, a new fan, and a dimmer switch (#MarryAnElectrician #SoBougieWithTheDimmerSwitch)
- Painted the ceiling (here's a post about how to make this job EASY!)
- Painted the walls (Benjamin Moore's Gray Owl in Matte)
- Hung new curtains and bamboo blinds (THIS post shows you how you're supposed to hang 'em)
- Got new couches (Flexsteel)
- Mounted the TV to the wall with THIS mount (tutorial coming soon!)
- Built a floating shelf and ditched the TV console
- Created awesome starfish anchor art!
- Replaced small photos with large ones
- A few small updates (toucan pillow, spray painted clock, hanging prayer plant with these hooks, and new door hardware)
What we still need to finish the room:
- New throw pillows
- Rug
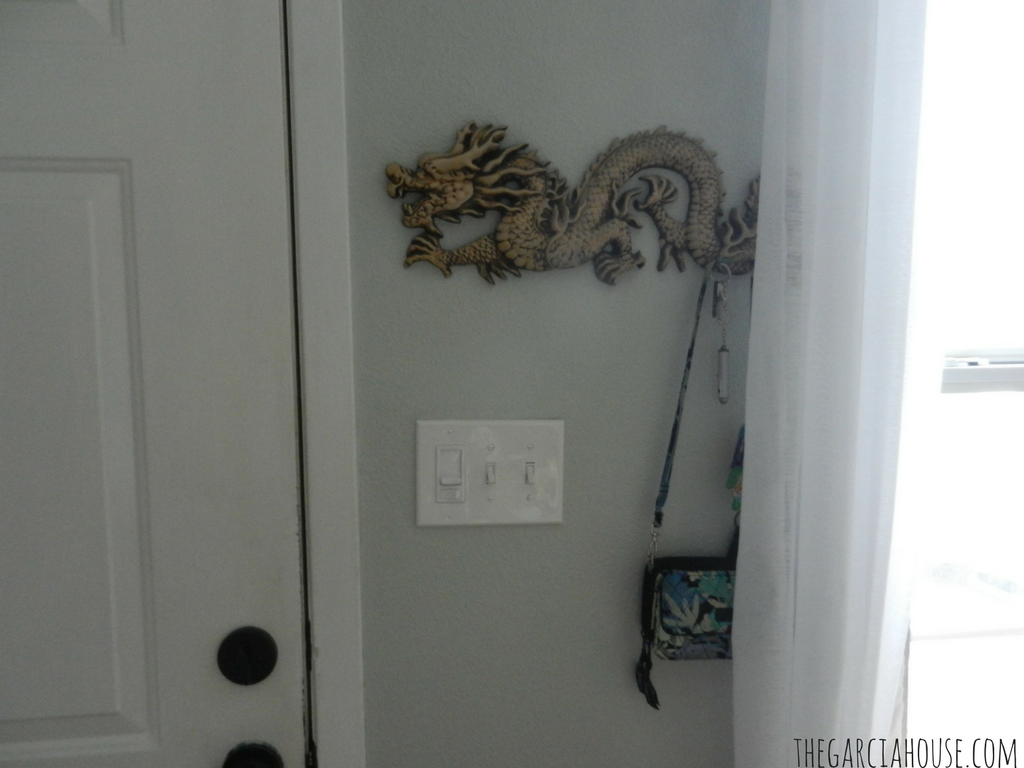
- New key holder
We absolutely love all the changes to our space! If you have any questions about what we did, ask me in the comments below 🙂 Do you have any room make overs planned or in the works?
Save
Save
Save


