Hi y'all! As promised, today's DIY is taking us back to the laundry room for a cheap (or in my case, FREE) space saving project. We have a teensy little laundry room.
[Fair warning: these are un-staged, real life photos of a messy work-in-progress, paint samples up on the wall laundry room. In case you couldn't tell, I was really feelin' the coral.]
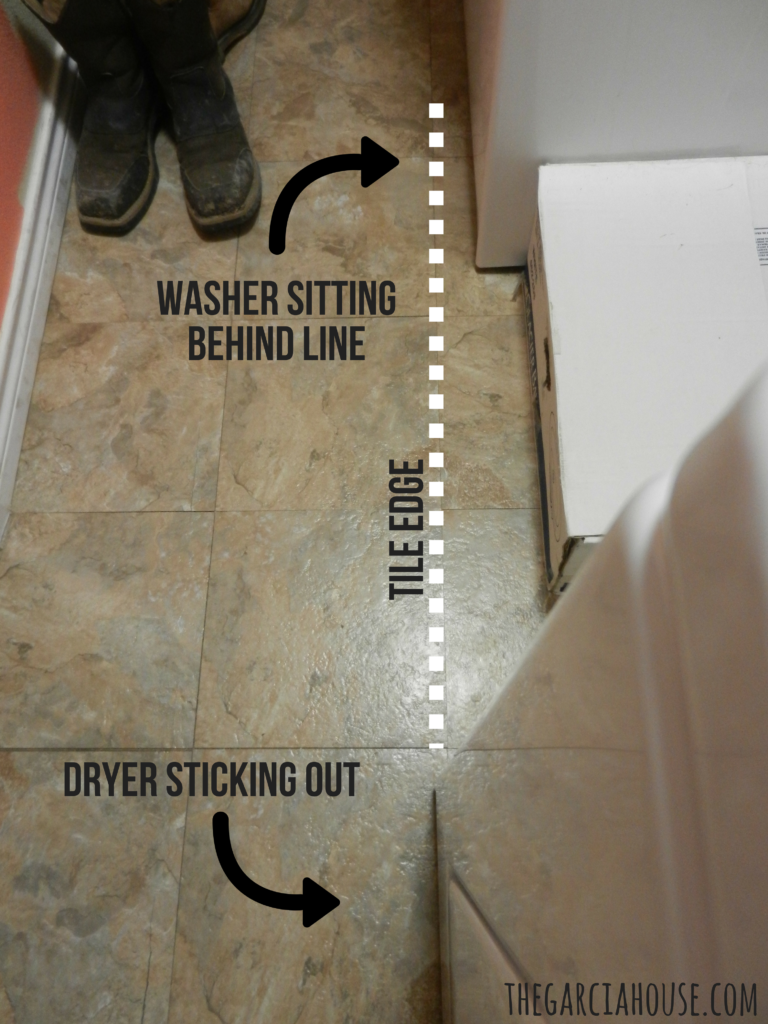
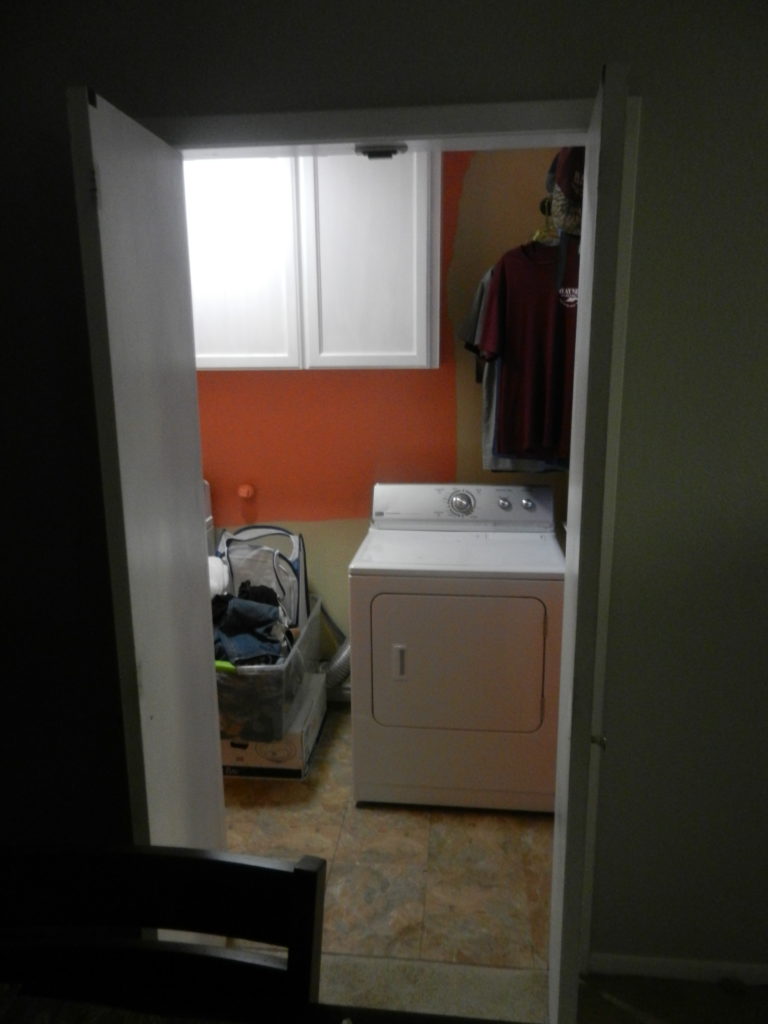 When we first got our washer and dryer, they were installed far apart like this (more details in a minute), and we lived with the dysfunction from 2009 until now. *Kicks self*
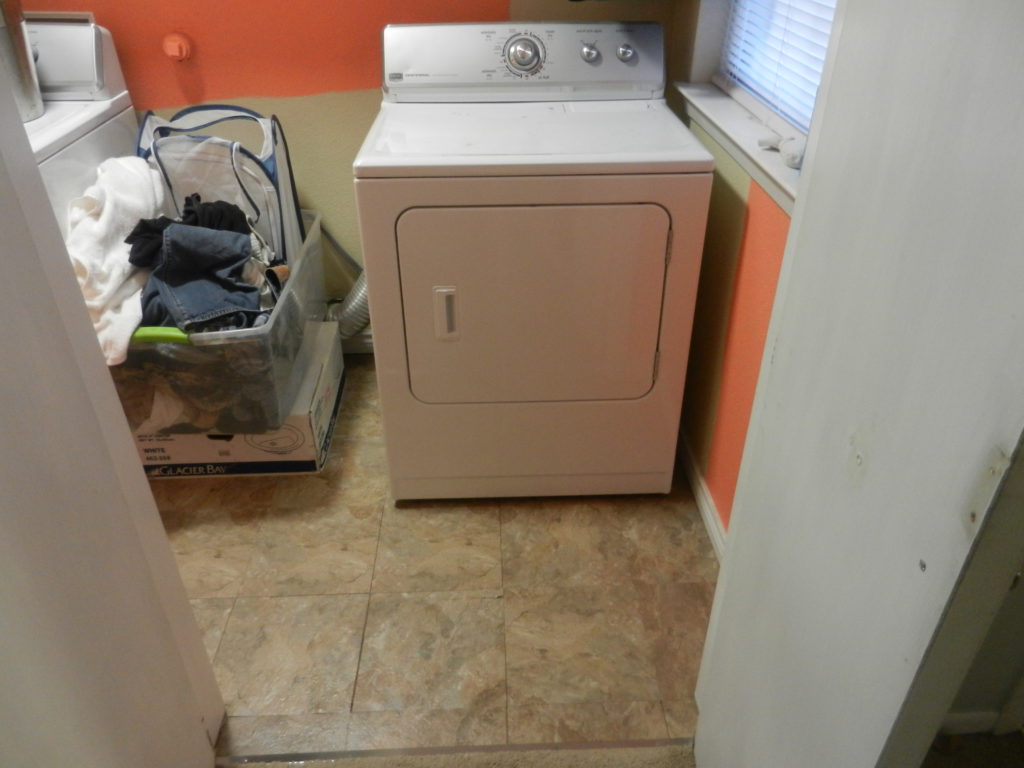 Our dryer jutted out into the room a few inches past the washer due to the vent ducting behind it. Even though a few inches might not sound like much, in tight spaces, those inches means everything! Plus, when it's next to another appliance, it just looks awkward. Like it *should* be pushed back to make them evenly lined up.
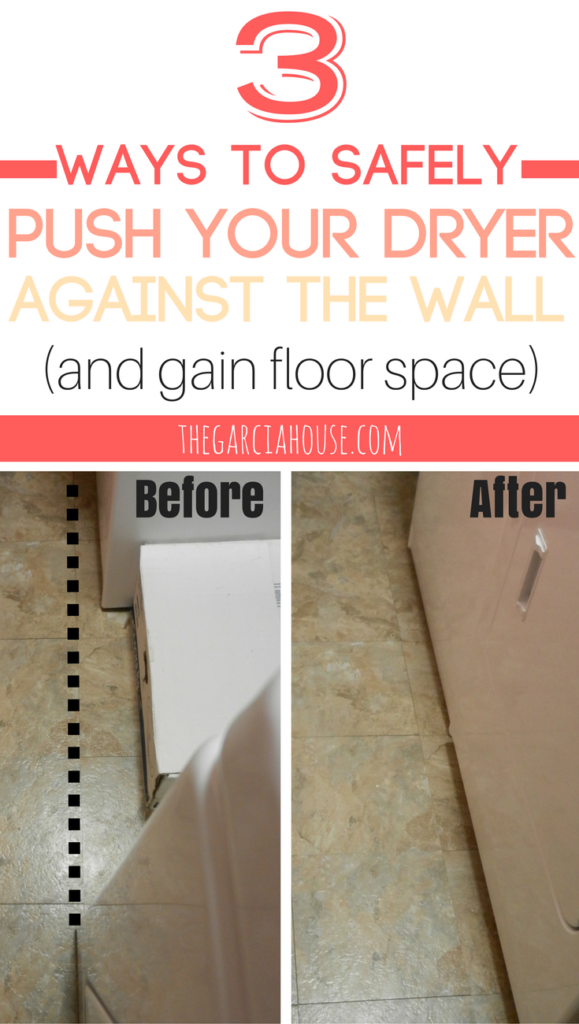
 So today I'm sharing 3 ways to safely push your dryer against the wall! One of them is sure to work for you 😉
 (This post contains affiliate links for your convenience!)
1. Ditch the Duct Altogether
This is what we did! We originally were going to use a periscope (more on that under method #2), but realized that with a few adjustments to our game plan, we wouldn't need it at all!
We didn't need to buy anything for this DIY either! We were essentially removing parts we didn't need and reusing existing materials. If for some reason you are unable to reuse your materials, here's a list of what's needed:
-flat head screwdriver
-Aluminum duct tape (we bought some but ended up not needing it because our fit was super snug. If you're concerned about the seal, you could definitely add some tape around the connection 🙂 ).
-scrap wood (again, you may not need this; we did due to our dryer feet not extending quite high enough for our needs).
Here we go...remember how I said our washer and dryer were super far apart for some reason? Well, this is the reason:
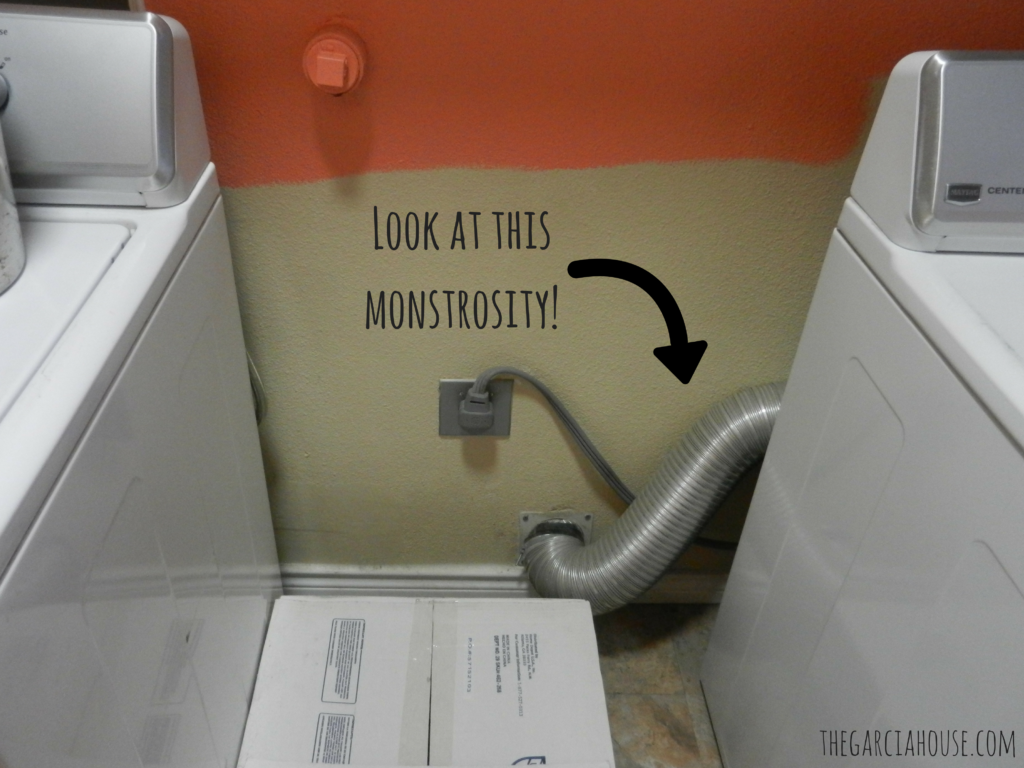
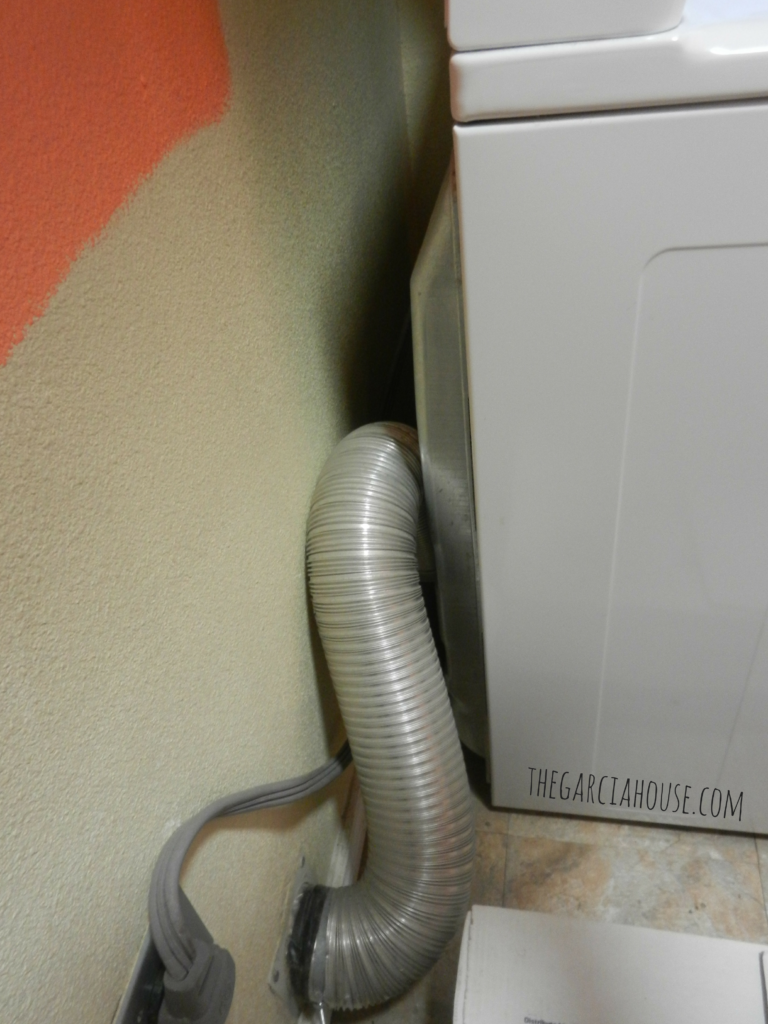 See how long it is? All those twists are opportunities for lint to clog the duct. Not good.
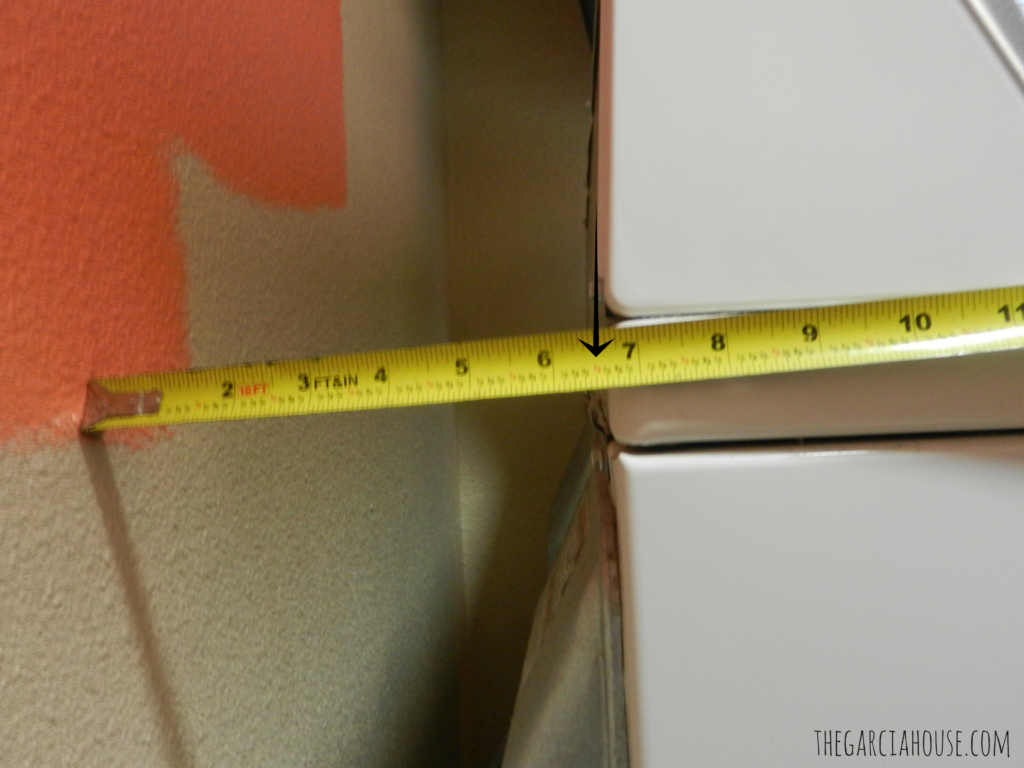 That duct caused the dryer to stick out about 6 1/2 inches from the wall.
To get started, we pulled our dryer away from the wall and disconnected the duct from the dryer and wall with a flat head screwdriver. You just loosen the screw on the worm clamps (metal circular bands that hold the duct to the vents) and pull the duct off.

You'll probably see some lint that's collected like this. Take this opportunity to clean out any debris in the piece venting to the exterior as well as any stuff coming out of the opening on the back of the dryer. Before disposing of the ducting you just removed, take the worm clamps off to reuse them.
What you're left to work with should look like this:
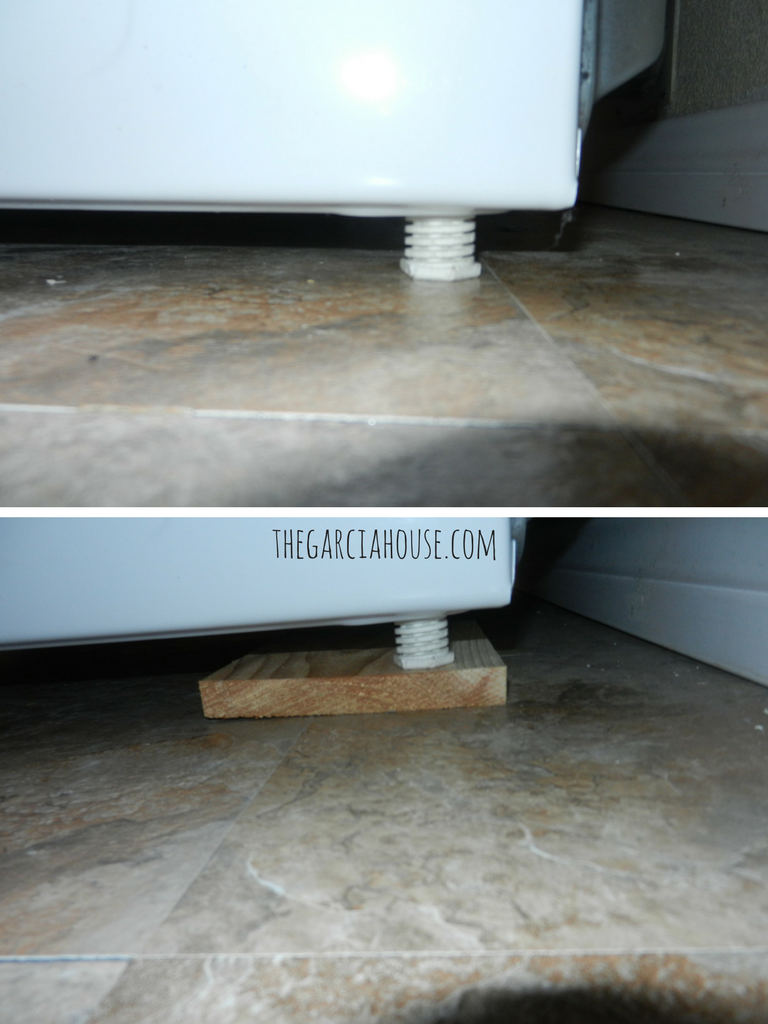
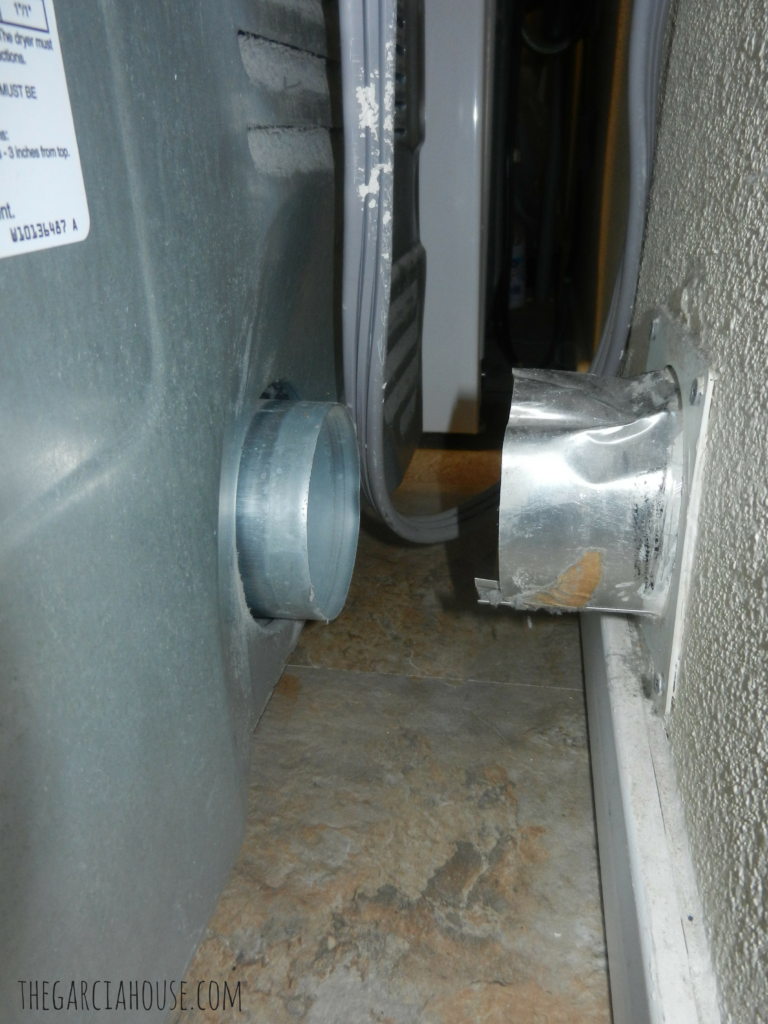 Our dryer was sitting too low to just push the two pieces together right away. So we extended the little dryer feet (see below). When that still came up too short, we improvised with some scrap wood under each foot to raise it to the perfect height:
 Now that your heights match up, go ahead and slide your loosened worm clamp over the metal piece protruding from the exterior vent. You'll want to have the clamp in place before you push the dryer back because space will be tight. Once in place, push the dryer back slowly, checking to make sure it's fitting in the exterior piece.
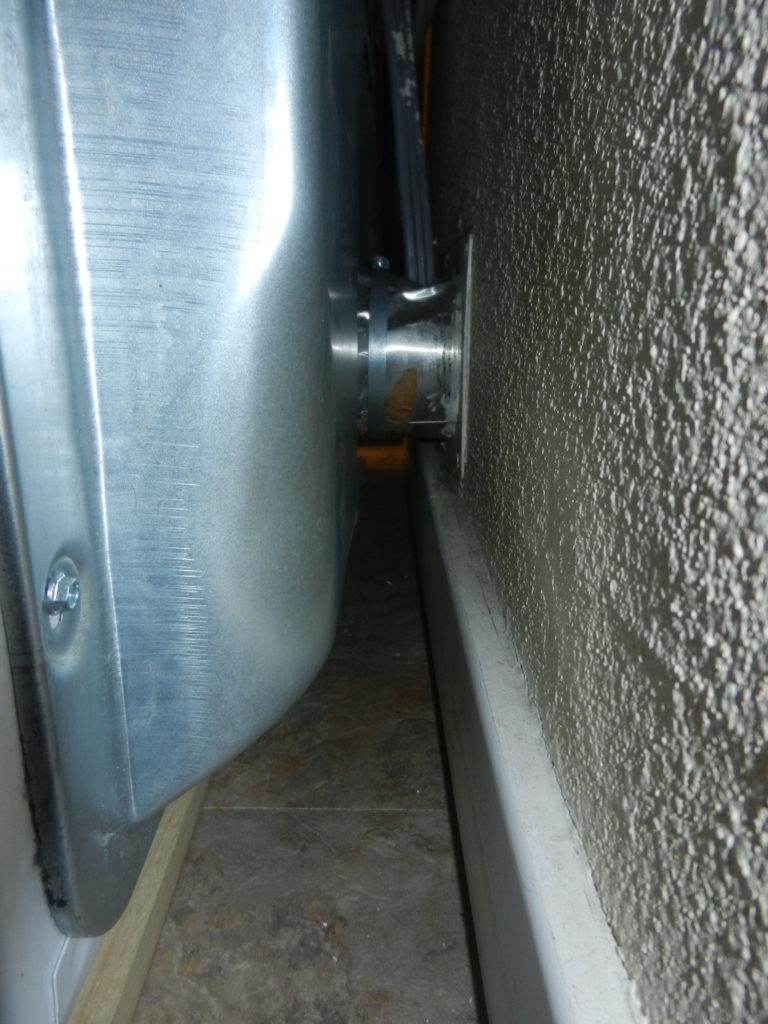 Now all you have to do is slide your arm back there and tighten your worm clamp. Our fit was so snug, we didn't need any aluminum ducting tape. But if your connection has gaps where air and/or lent could escape, you'll need the tape. Honestly, I don't think you could get your dryer as far back as we did if you need the tape unless you are super flexible with tiny arms. I had a tough time squeezing one arm back there just to tighten the clamp. But I wanted it as close as possible, so I persevered lol.
And look at our new measurements!
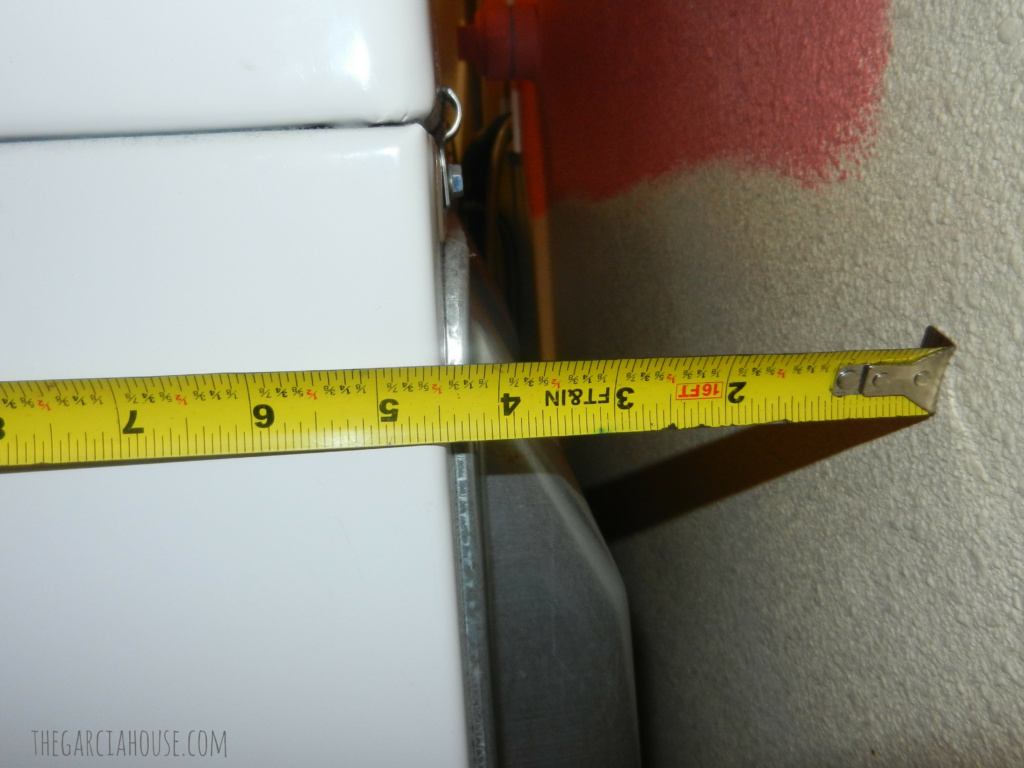 We shaved 2 inches off! Trust me, it makes a difference:
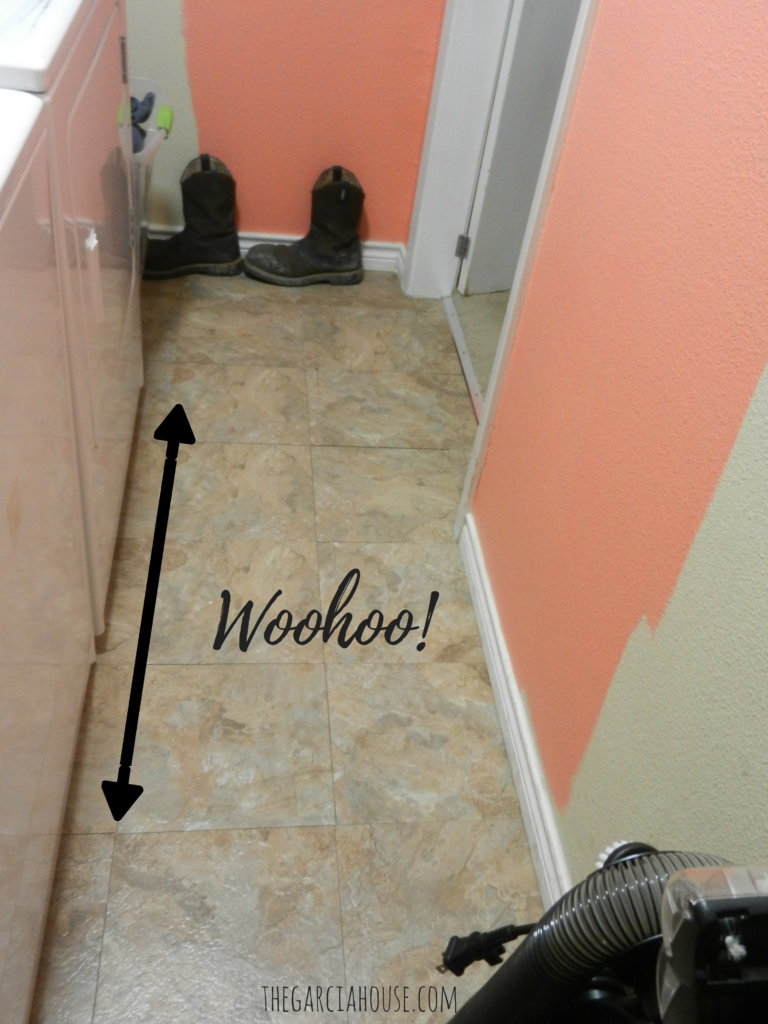 Now the appliances line up AND we are finally able to have them side by side so I don't have to throw laundry across the room from the washer to the dryer! Pushing them together makes the room feel HUGE because all the extra space is now combined to the right of the dryer.
Pat yourself on the back! You just created space where there was none--fo' free! You are awesome. You deserve pie.
2. Periscope
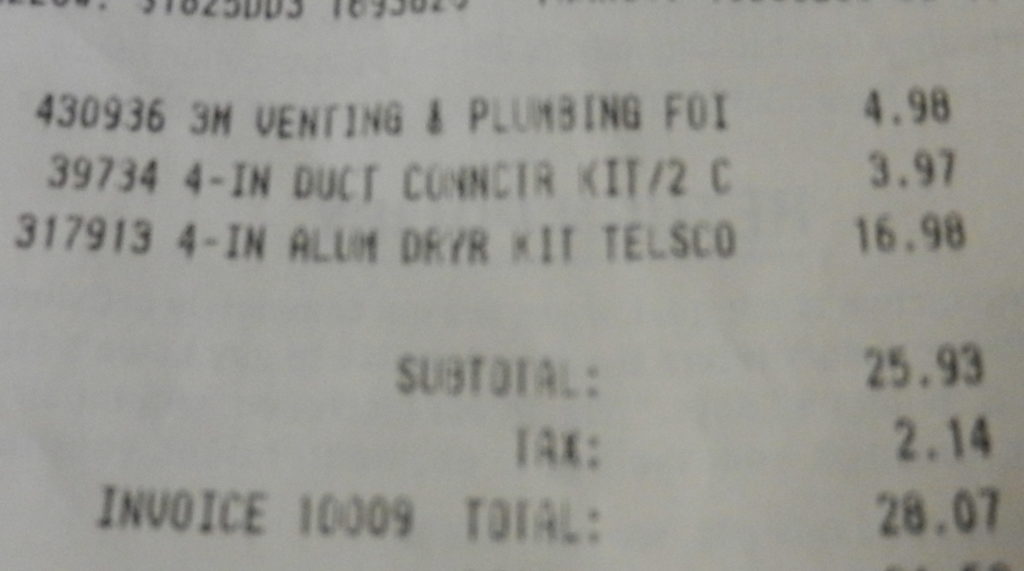
If Method #1 won't work for your space, a periscoping vent might be perfect for you! A periscope vent extends to different lengths so you can customize how long it is to fit your room. The best part? These vents are super slim, which allows you to get your dryer as close as 3" to the wall! Also, they are considered to be a much safer and more durable product than the flexible plastic and foil ducts that come with most dryers. Since we didn't go this route after all, I found a tutorial from thisoldhouse.com for those of you who would need this method and want a little guidance. This method would have cost us about $28 to do. And y'all know I come with receipts 😉
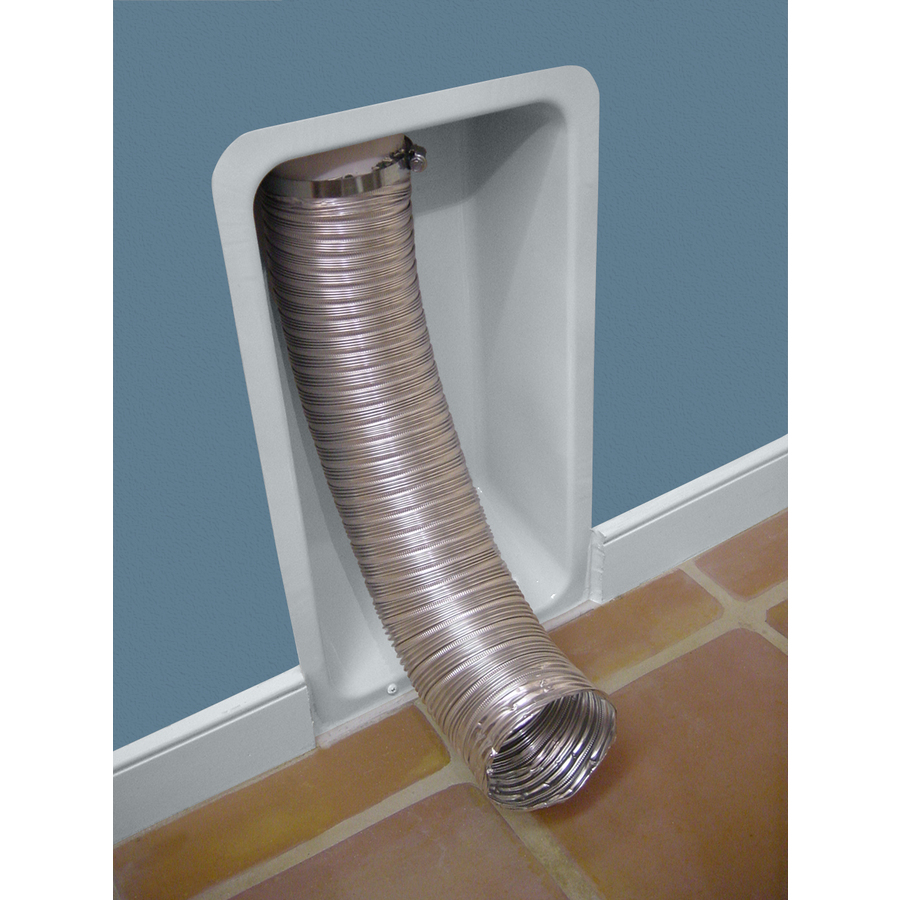
3. Recessed Vent Box
Recessed dryer boxes allow you to hide your ducting in the wall space between studs. If you're building a new laundry room or remodeling, this won't be a big deal to add to your plans. If you're working with an existing space, you'll have to cut into your wall, but deep breath! It doesn't have to be a deal breaker! I found this super thorough tutorial from the Well-Groomed Home to guide you through it 🙂
You made it to the end!
(And can I just say that I seriously love you guys for caring enough about what I say to get to the end of this long-ass post? You're the best.)
What do you think? Have I inspired you to tackle this laundry room upgrade? Totally worth it to me! If you need clarification on anything, please comment below and I'll answer 🙂 Next week I'll share a super cool way to hang clothes and save space in your laundry room.
I've got some more changes coming for this little space. Gotta finish up painting, add some cabinet hardware, and think up some organization solutions. Might even paint the floor, who knows? The goal is to end up with a room that makes me feel happy while doing laundry (if that's even a thing).
See you soon,
Save
Save
Save
Save
