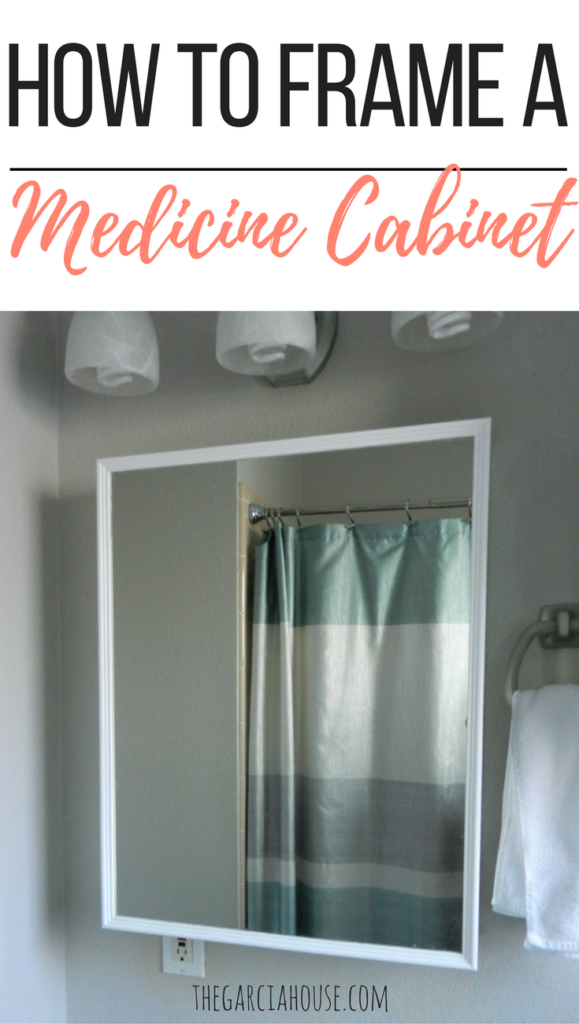
Alright guys, as promised, I told you I’d have a use for your leftover wood trim from my last project. So today, I wanted to show you my DIY bathroom medicine cabinet frame using the same steps from the last tutorial! This will also work perfectly for framing out mirrors as well 🙂
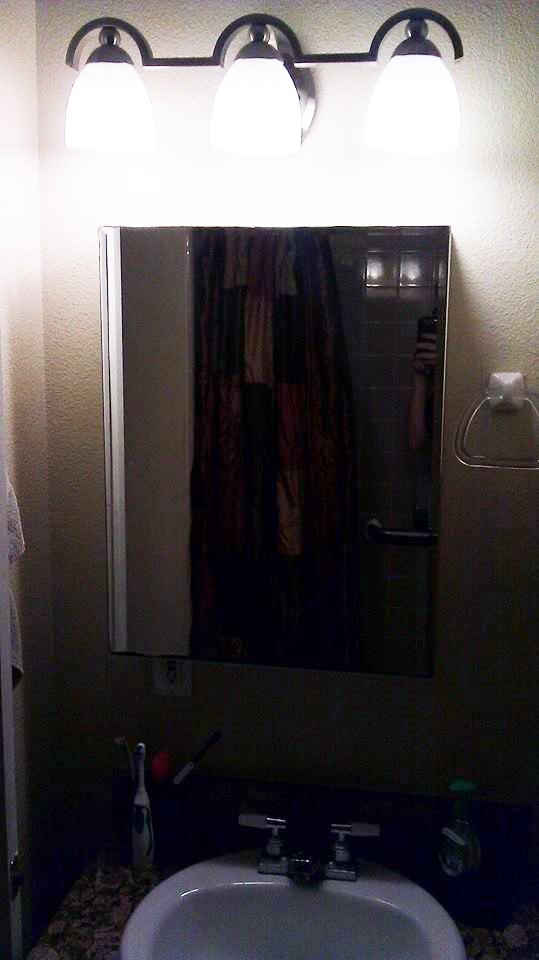
Our bathroom came equipped with a recessed medicine cabinet that was functional but not very aesthetically pleasing.
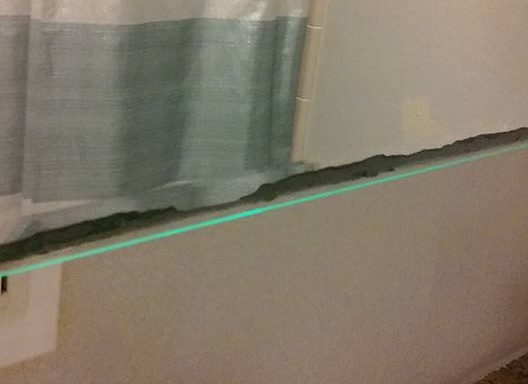
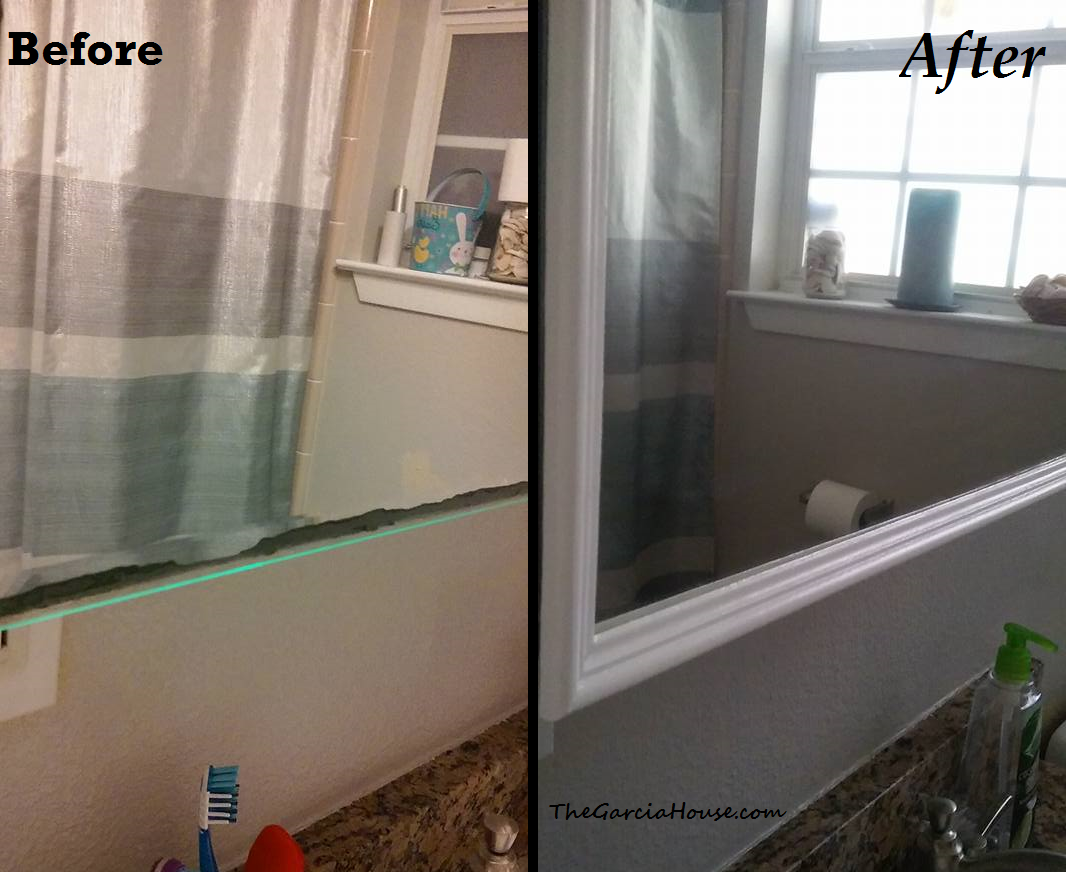
I’m sure you guys have seen how the mirrored backing on glass can start eroding and peeling off leaving a beautiful border:
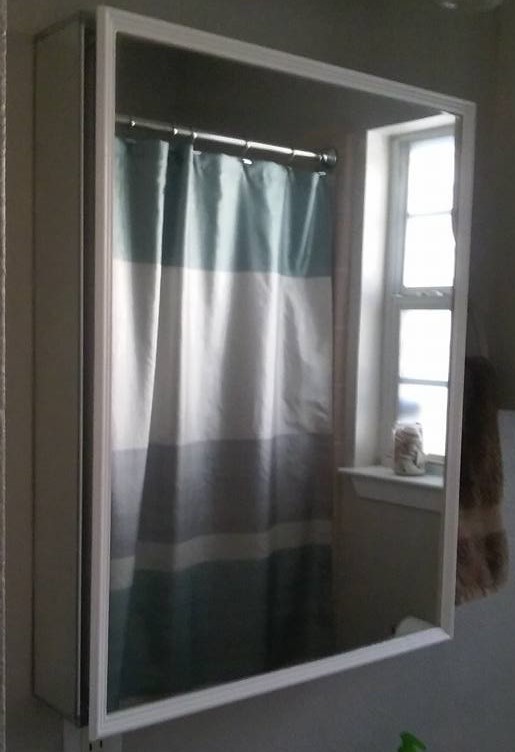
So I created this frame to hide the peeling and update the medicine cabinet (if you missed the last post, click HERE for full instructions on how to make the frame):
Selecting the Trim:
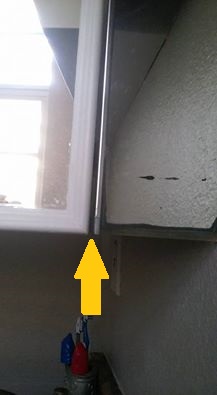
Something you’ll want to keep in mind when selecting your trim for this project is how much space you have between the front of the medicine cabinet and the side when the cabinet is fully opened. In other words, if your trim is too big, it will prevent you from opening the door all the way. For us, this slim trim was the only size that would work. If you are framing a flat-to-the-wall mirror, you can get trim as big as you’d like.
The only additional steps are:
-clean your mirror well before you start.
-secure the frame to the mirror with tape and/or clamps so that it stays in place until the liquid nails dries.
Here’s another look at the difference:
That’s all there is to it! Much more cost effective than replacing the cabinet. This is only one small change we’ve made in the bathroom. We’ve done so much more to this room, and I can’t wait to show y’all once I get the house tour photos ready!
Until then, enjoy this photo of Roman lounging in the pool. Hope y’all are having as great a day as he’s having!
